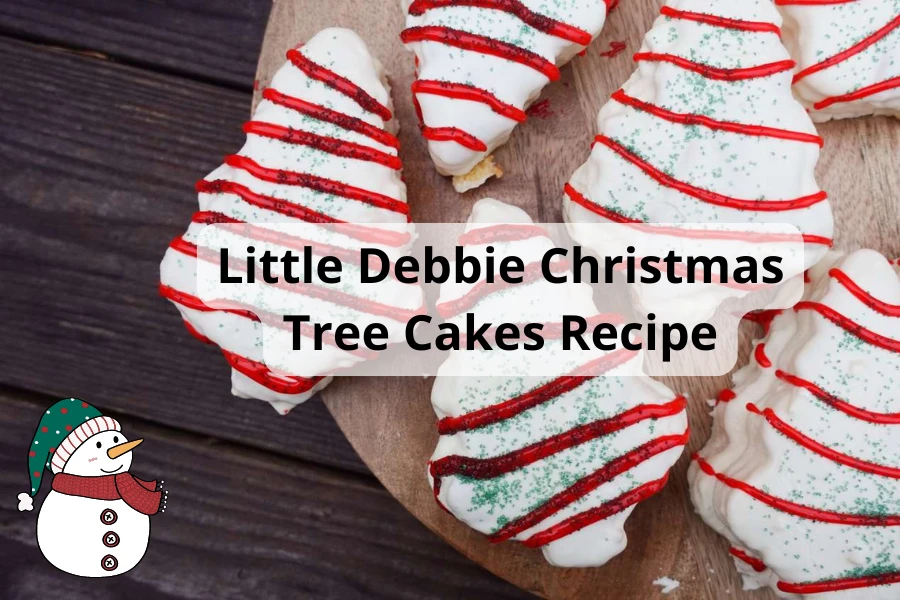
Ever wondered what it feels like to be a tiny elf, scurrying around a North Pole bakery, stuffing your face with sugary treats? Well, look no further! Today, we’re bringing that magical experience right to your kitchen with a recipe that’ll make your taste buds dance with delight: Christmas tree cake little Debbie recipe.
So grab your apron, roll up your sleeves, and let’s see if you’ve got what it takes to create a sweet masterpiece that’ll make Santa Claus weep with joy. With my Little Debbie Christmas Tree Cakes recipe, you’ll be chirping with joy and flapping your wings with delight.
Best Suggestions For Little Debbie Christmas Tree Cakes Recipe
To make little Debbie Christmas tree cakes, you need to prepare some ingredients and tools. We provide you with the list of things you need below to save your precious time while ensuring you get great options at the same time.
Best Cake Mix
Duncan Hines Classic White Cake Mix
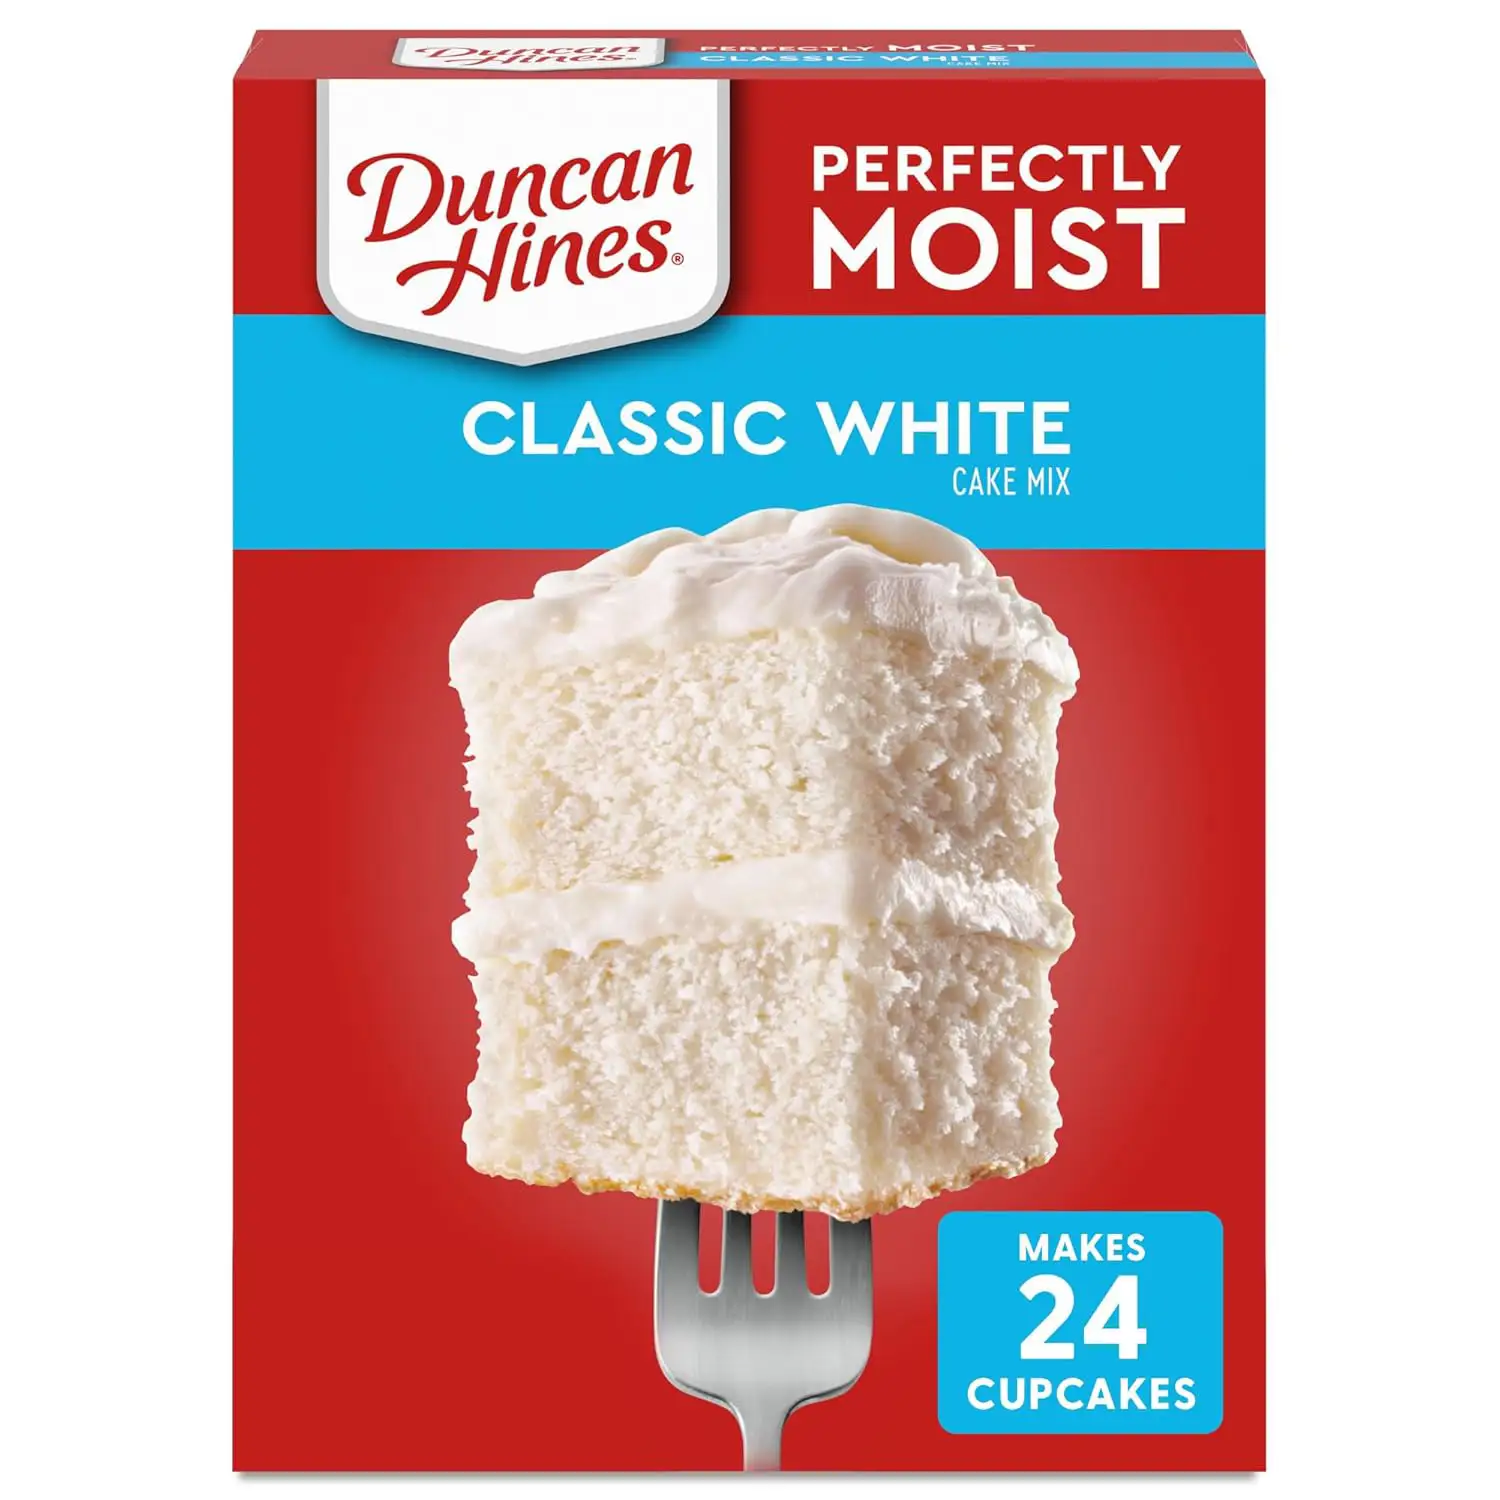
Photo credit: Amazon
Product Information
- Brand: Duncan Hines
- Flavor: Classic White
- Diet Type: Kosher
- Item Weight: 15.25 ounces
- Perfect moist & great taste
- Easy instructions to follow
- Reasonable price tag
- Versatile for many cake recipes
- Add food coloring if you don’t like the white cake
Why We Love It
Duncan Hines Classic White Cake Mix is the favorite of many bakers since it is versatile for many cakes, including Xmas tree cakes. They are pleased with this mix’s value, taste, and perfect moistness. The price is also very reasonable. Simply add egg whites, water, and vegetable oil to the cake mix, and the batter is ready to bake.
Best Christmas Tree Cutter
Christmas Tree Shaped Cookie Cutter
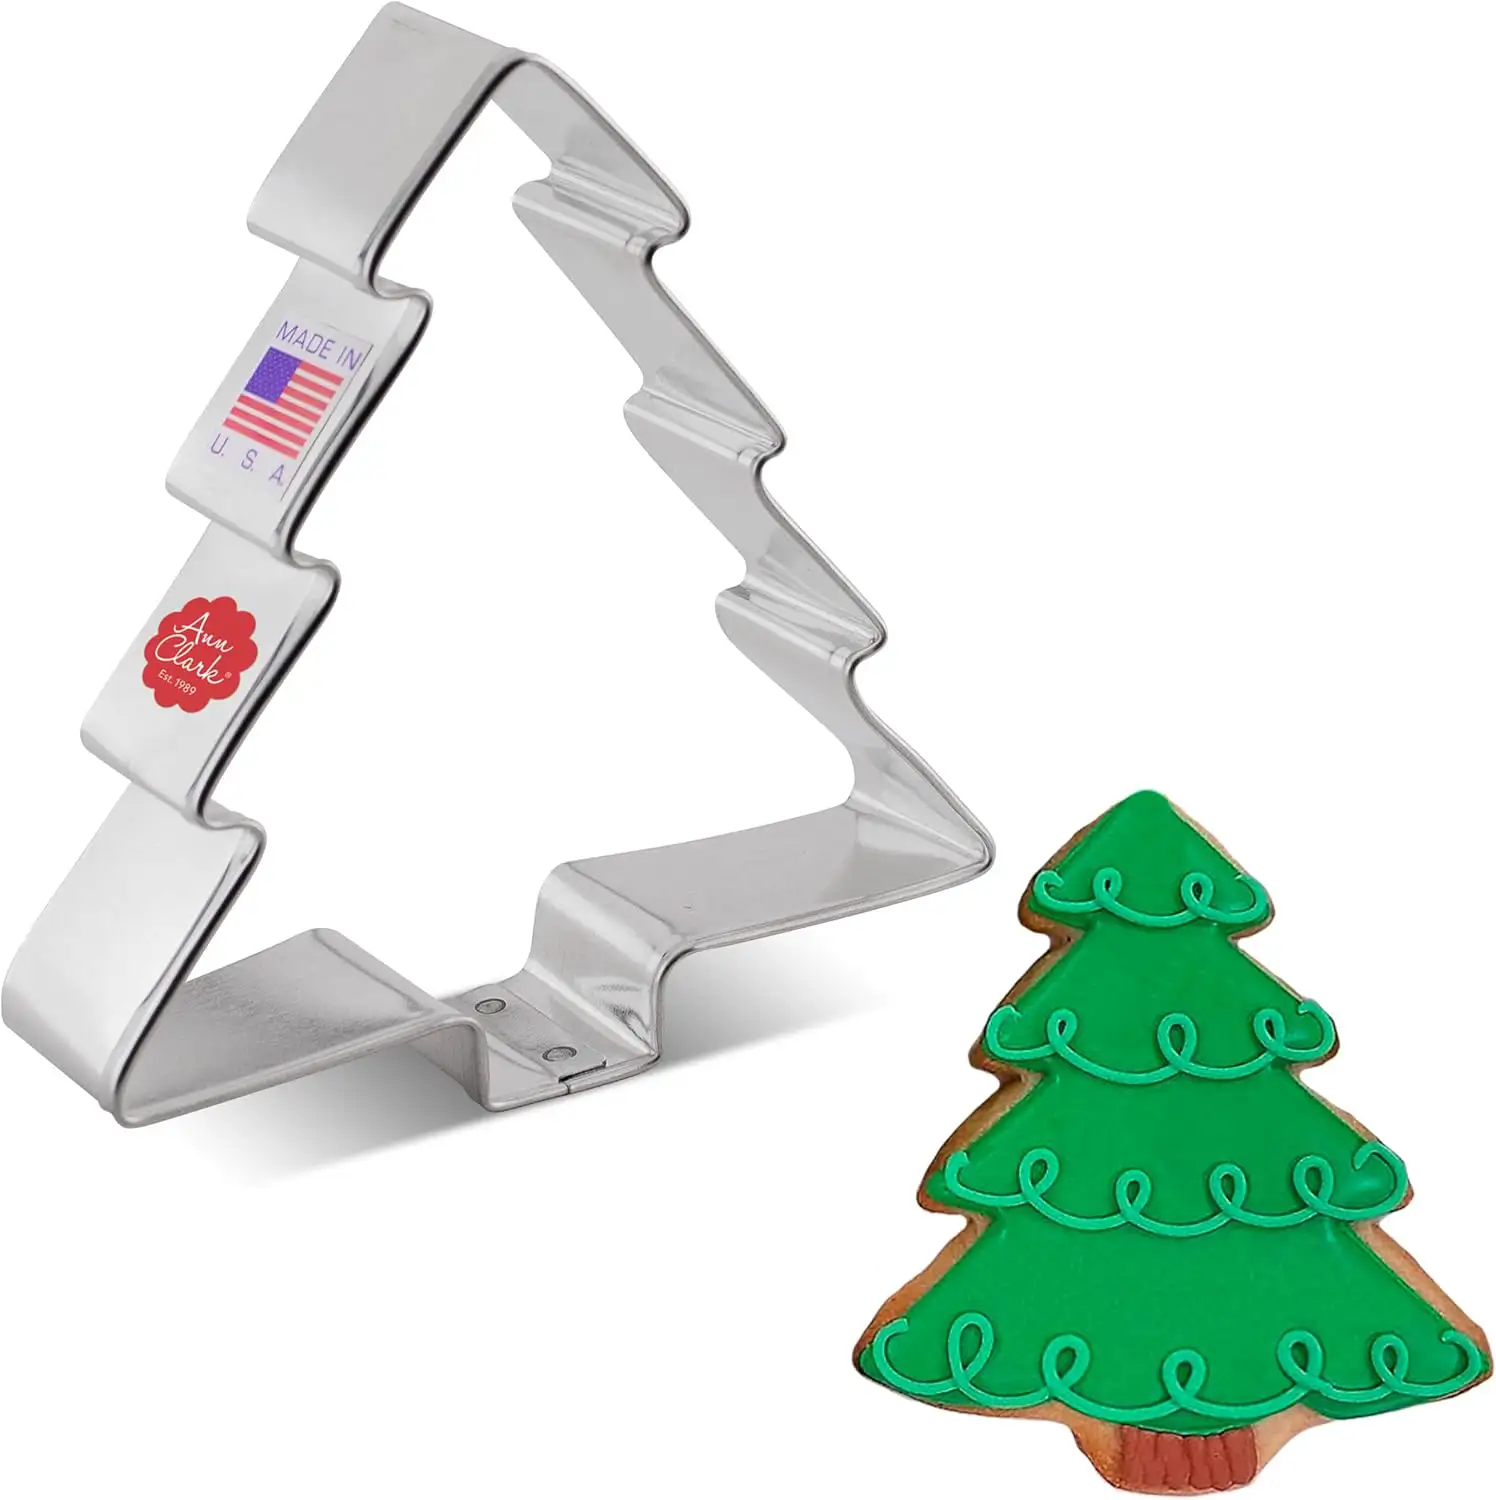
Photo credit: Amazon
Product Information
- Brand: Ann Clark Cookie Cutters
- Material: Alloy Steel
- Item Size: 4 inches
- Item Weight: 0.48 ounces
- Great sizes compared to regular cutters
- Distinct Xmas tree shape
- Food-safe material
- Sturdy, easy to clean & storage
- Hand-wash only
Why We Love It
I highly recommend these Christmas Tree Shaped Cookie Cutter since they have great sizes and distinct shapes. They are very sturdy with certificated food-safe USA steel material. Plus, the folded metal side ensures your hands are comfortable when pushing the cutters down. The other side is sharp to create a clean cut through the dough.
Best Kosher Salt
Morton Coarse Kosher Salt
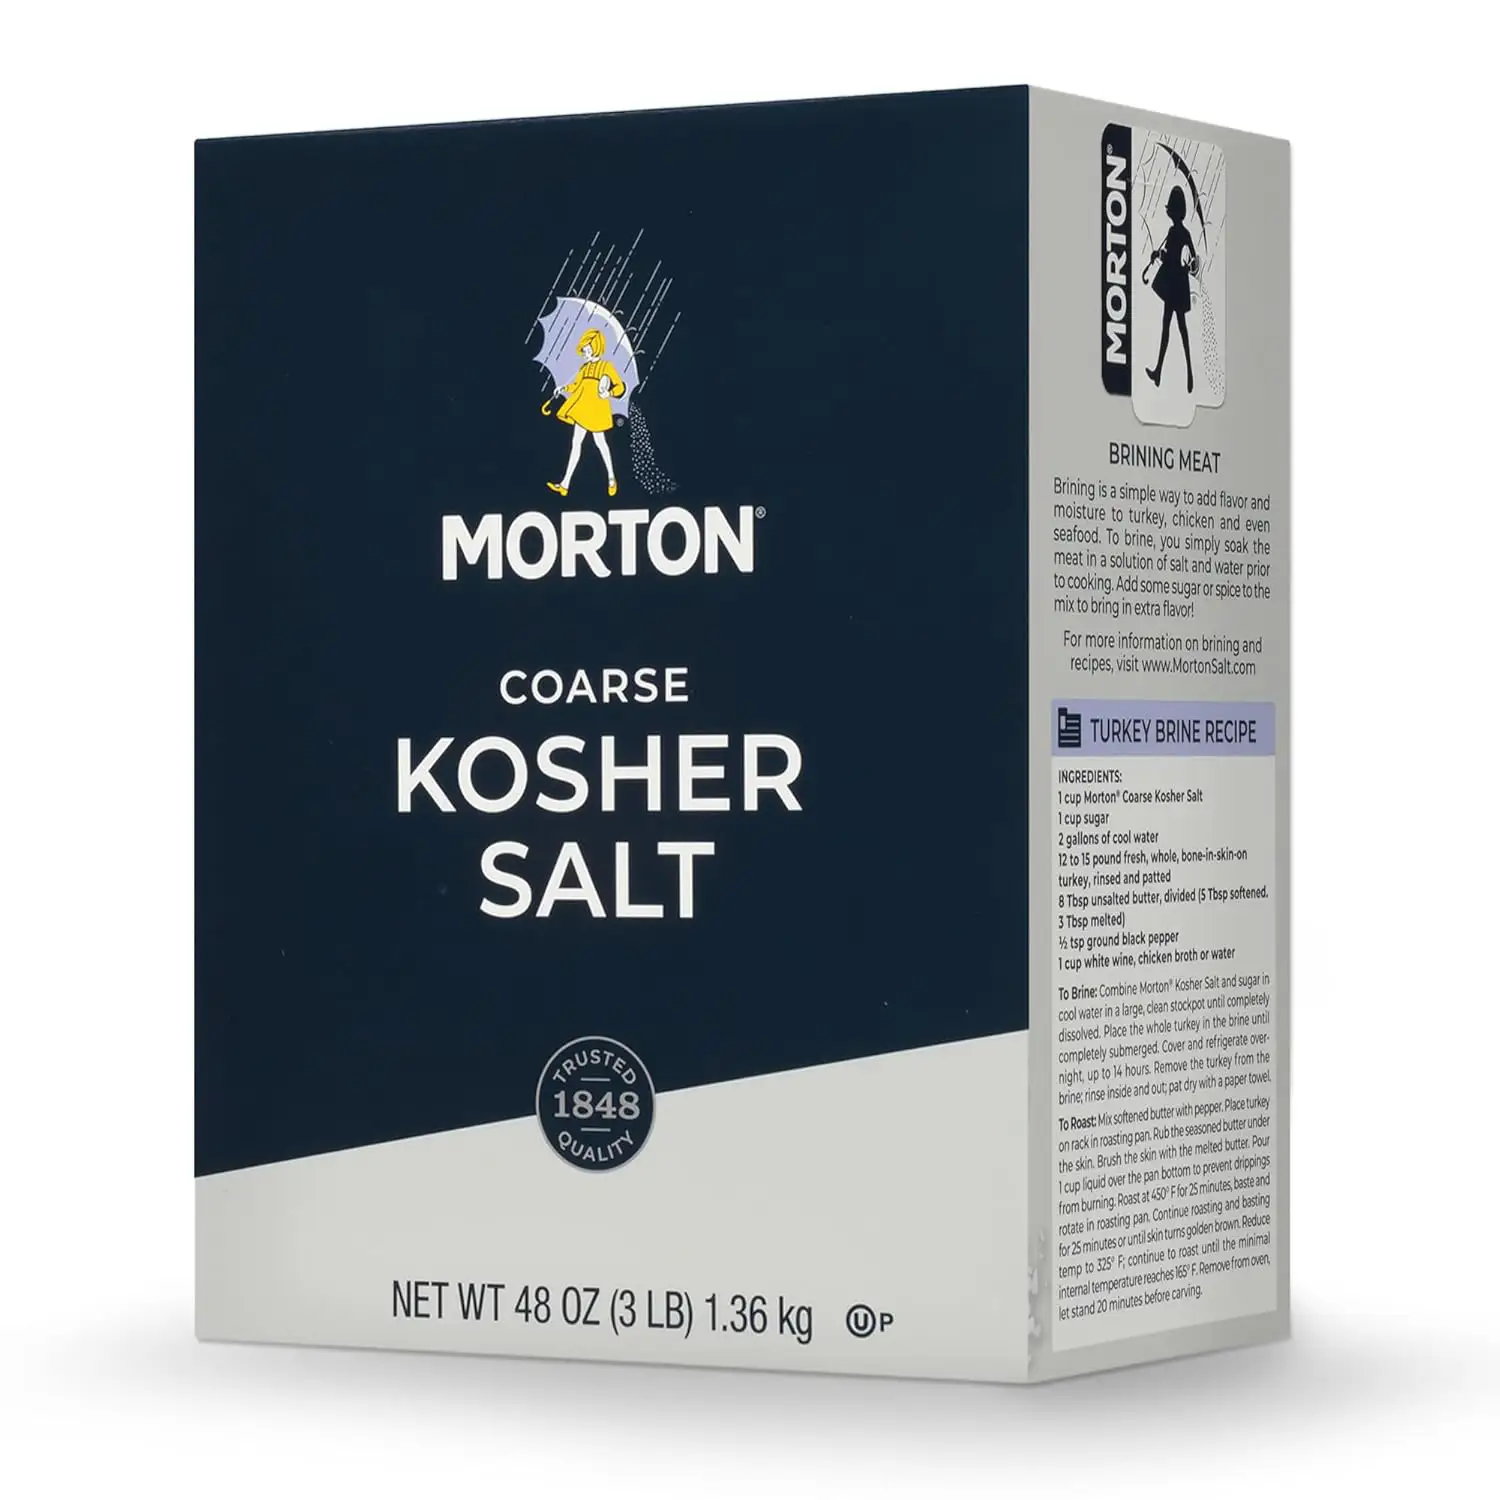
Photo credit: Amazon
Product Information
- Brand: Morton
- Type: Kosher
- Item Form: Crystal
- Item Weight: 3 pounds
- High-quality culinary salt
- Product from a trusted brand
- Easy to use
- Good price & good value
- Can be quite salty
Why We Love It
This Morton Coarse Kosher Salt is very suitable for Xmas tree cakes because it’s extra fine. Morton Kosher salt is smaller than 2 times traditional salt. Thus, it will be easily used for any food and cake. Besides tree cakes, you also use Kosher salt to enhance the flavor of popcorn, finger foods, fries, chips, nut mixes, and edamame.
Best Baking Powder
365 Whole Foods Market Aluminum Free Baking Powder
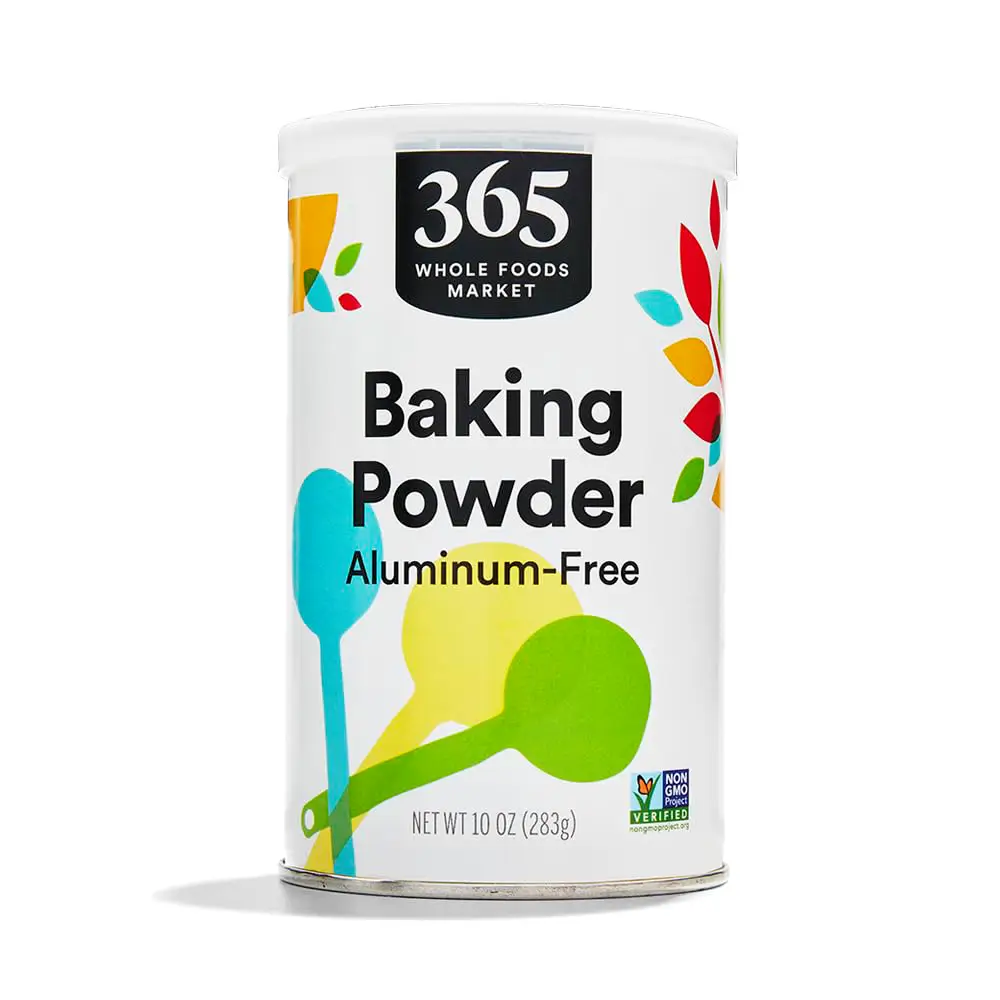
Photo credit: Amazon
Product Information
- Brand: 365 by Whole Foods Market
- Specialty: Aluminum-Free
- Item Form: Powder
- Item Weight: 10 ounces
- Free from aluminum
- Great size container
- Perfect for fluffy, light cakes & baked goods
- Excellent value with a good price
- Require to bake soon after mixing the dough or batter
Why We Love It
I chose 365 Whole Foods Market Aluminum Free Baking Powder because it is free from aluminum metal. Moreover, it works effectively to create light, fluffy cakes and delicious baked goods. The container looks cute and the cap is stable. A small tip is that you need to bake your cakes right after finishing mixing the batter. The chemical reaction of aluminum-free baking powder will weaken quickly and you won’t get the result as expected.
Best All-Purpose Flour
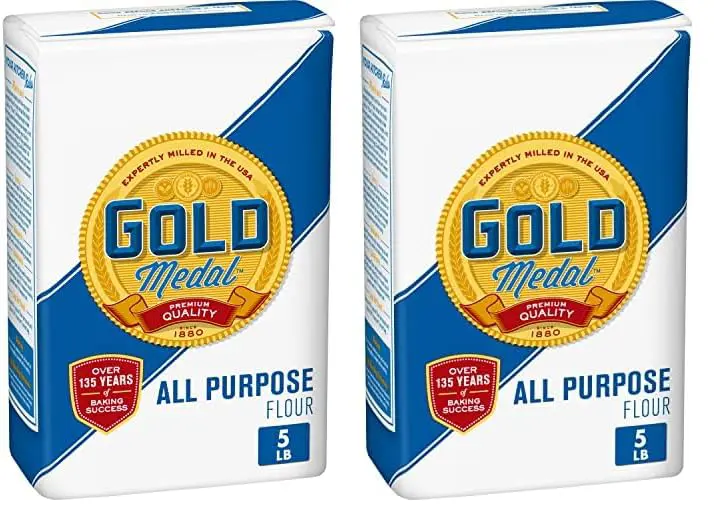
Photo credit: Amazon
Product Information
- Brand: Gold Medal
- Type: Kosher
- Item Weight: 9.9 pounds
- Allergen Information: Gluten
- Ideal for cakes & cookies
- Versatile for any food recipe with “flour” ingredient
- Consistent quality & reliable results
- Also great for making molding clay
- Not suitable for people with gluten tolerance
Why We Love It
You can use any kind of all-purpose flour you have in the kitchen. But Gold Medal Premium Quality All-Purpose Flour will not disappoint you. It has consistent quality and delivers great results nearly every time. Gold Medal all-purpose flour is ideal for making yummy cakes, cookies, and high-rising yeast breads. With the great package size, you will always have stock in the pantry so that you can use it when needed.
Best Vanilla Extract
Nielsen-Massey Pure Vanilla Extract
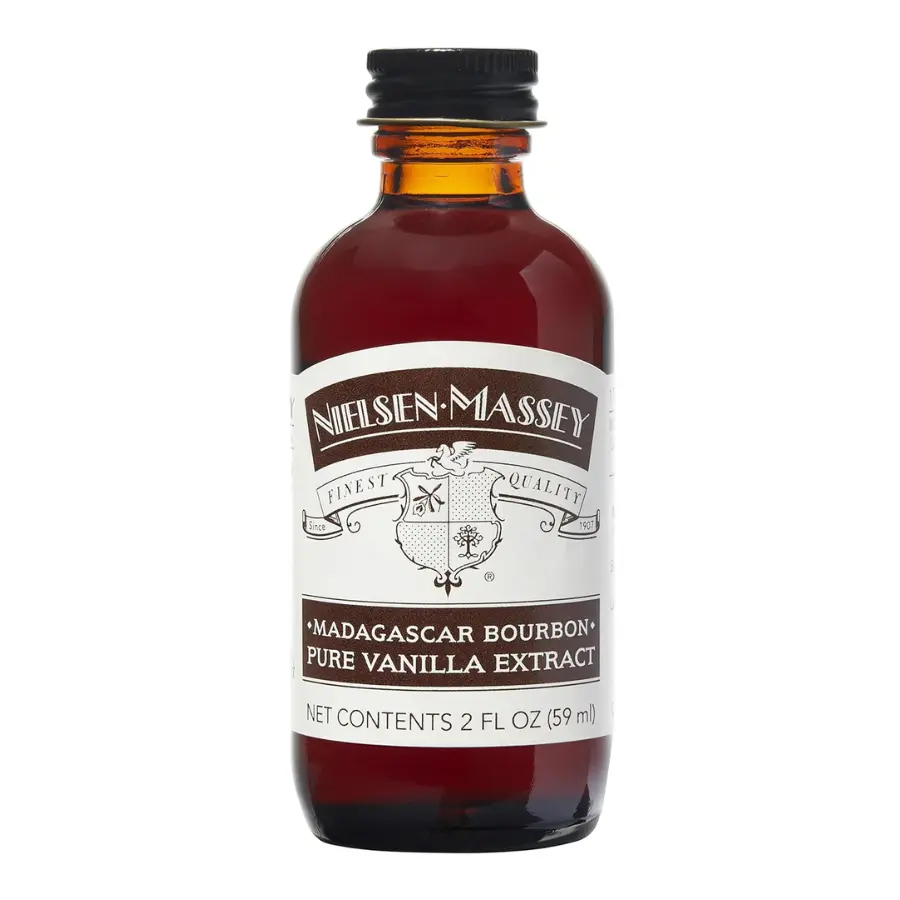
Photo credit: Amazon
Product Information
- Brand: Nielsen-Massey
- Specialty: Pure Vanilla
- Item Volume: 59 mL
- Made from vanilla beans
- Excellent flavor & quality
- Great & sturdy bottle size
- Perfect to add to many cake recipes
- It’s pricey
Why We Love It
You can buy vanilla extract from your nearby store, but Nielsen-Massey Pure Vanilla Extract is highly appreciated for its taste, superior quality, and great aroma. It is produced with vanilla beans grown on Madagascar’s Bourbon Islands. It means that Nielsen-Massey vanilla extract is natural and non-GMO. Your cakes will have a much more pleasant aroma with this kind of vanilla extract.
Best Almond Extract
Watkins Superior Quality Pure Almond Extract
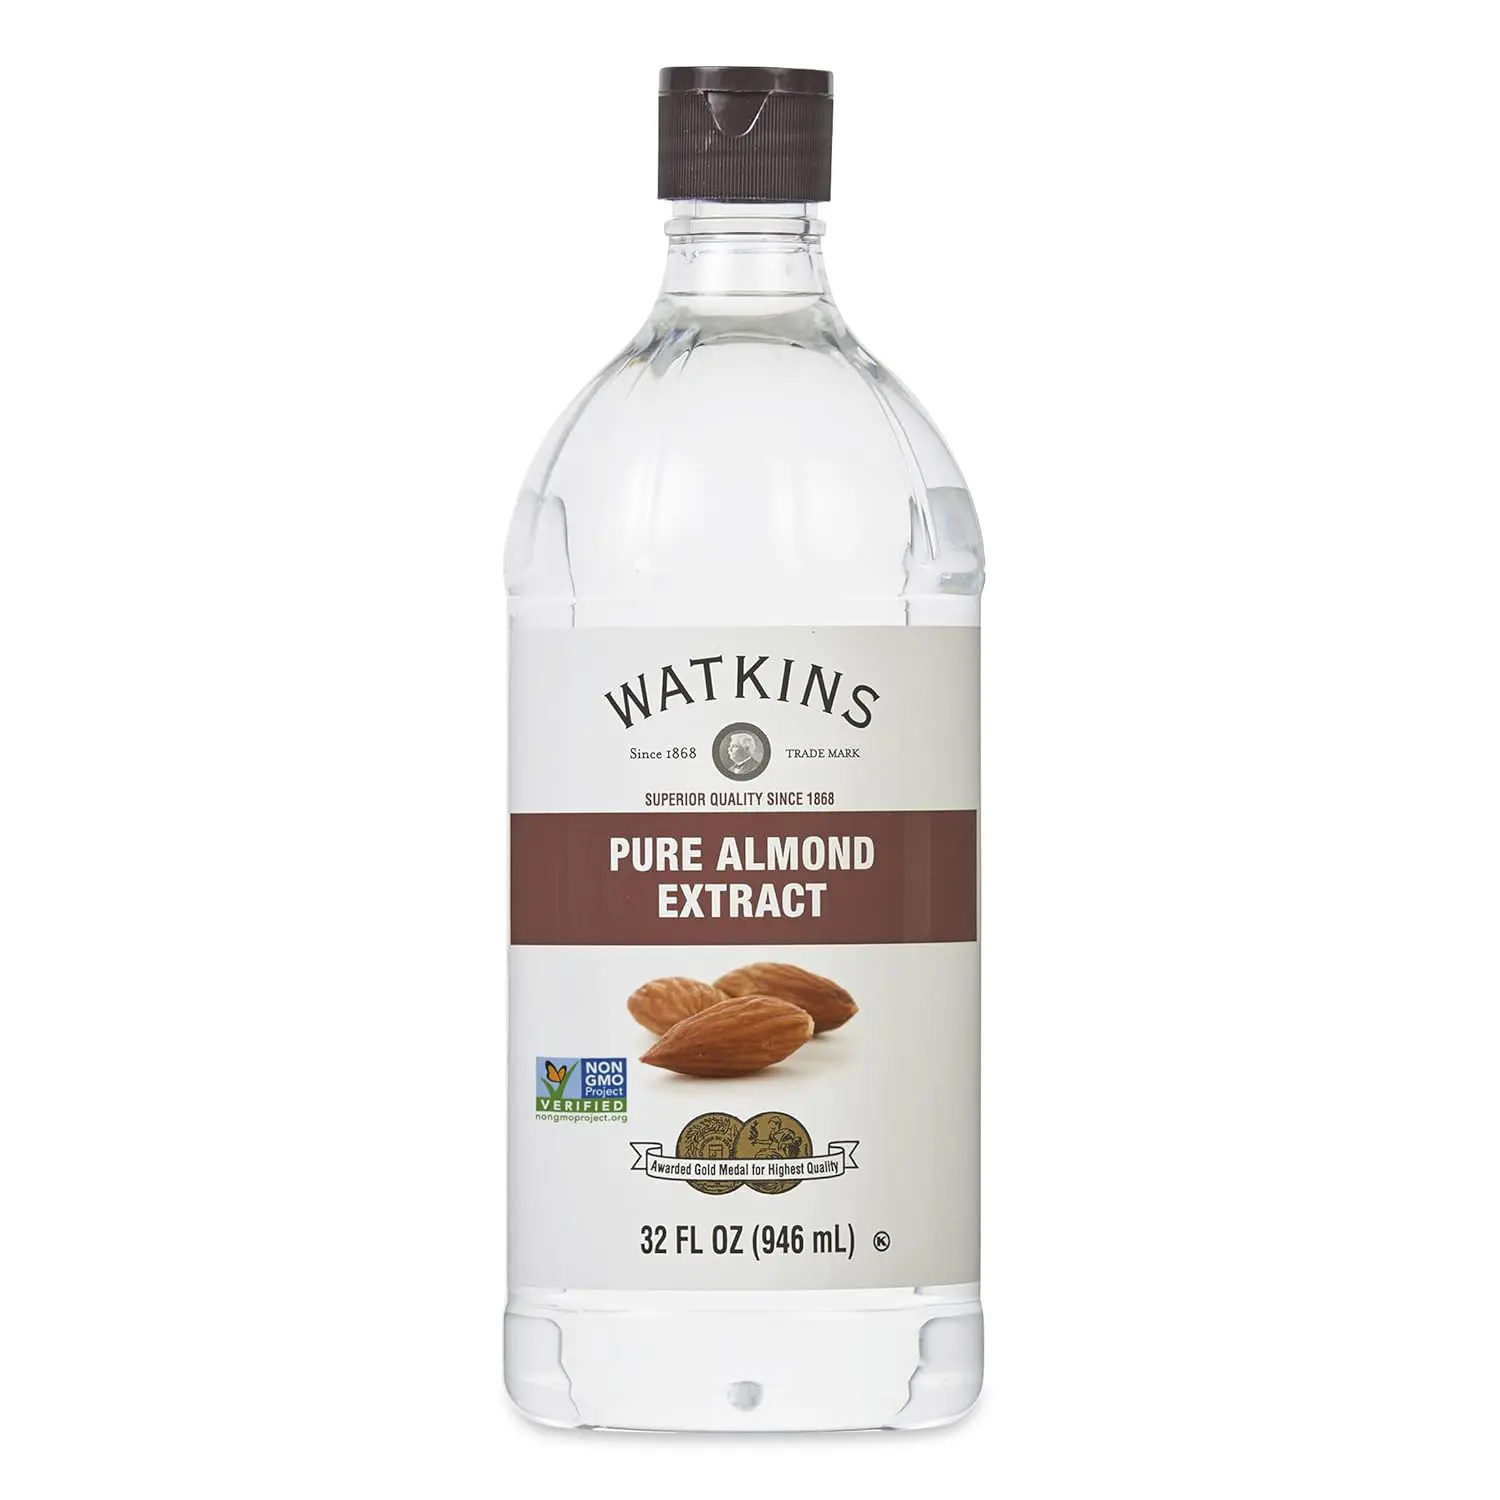
Photo credit: Amazon
Product Information
- Brand: Watkins
- Specialty: Organic
- Allergen Information: Almond
- Item Volume: 946 mL
- 100% Pure extract
- Non-GMO & free from corn syrup
- Great value for the money
- Great taste & aroma
- Perfect bottle size
- Not for those who are allergic to almond
Why We Love It
Watkins Superior Quality Pure Almond Extract is not like any others you can find in grocery stores. Its flavor is extra distinct and natural, and no bitter chemical taste. This is because Watkins almond extract is made entirely of natural oils and does not contain any artificial flavors or colors. And of course, it’s perfect for your baked goods. The bottle size is also enough for many baking batches.
Best Decorating Sugar
365 Whole Foods Market Decorating Sugar Green
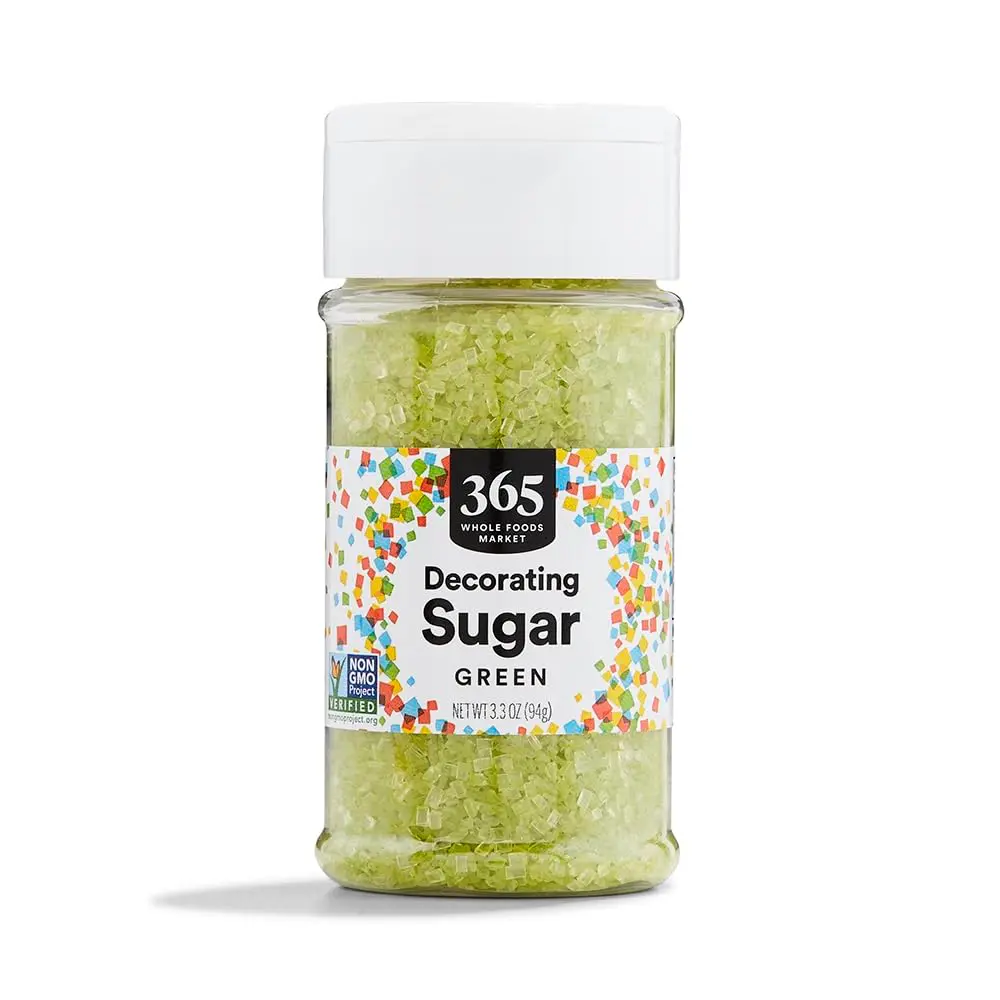
Photo credit: Amazon
Product Information
- Brand: 365 Whole Foods Market
- Item Form: Crystal
- Item Volume: 3.36 ounces
- The green color is made from natural sources
- Has great flavor
- Great decorating sugar, especially for Christmas
- The green color can be a bit light for some users
Why We Love It
I wish that the color of 365 Whole Foods Market Decorating Sugar Green would be a little darker. It just looks well on white frosting and nearly doesn’t show up on other colored frosting. However, it’s made from a natural green color and has great flavor. You also can use the green sanding sugar as sprinkles on cookies and cupcakes as well.
Best Candy Melts
Wilton Bright White Vanilla Candy Melts
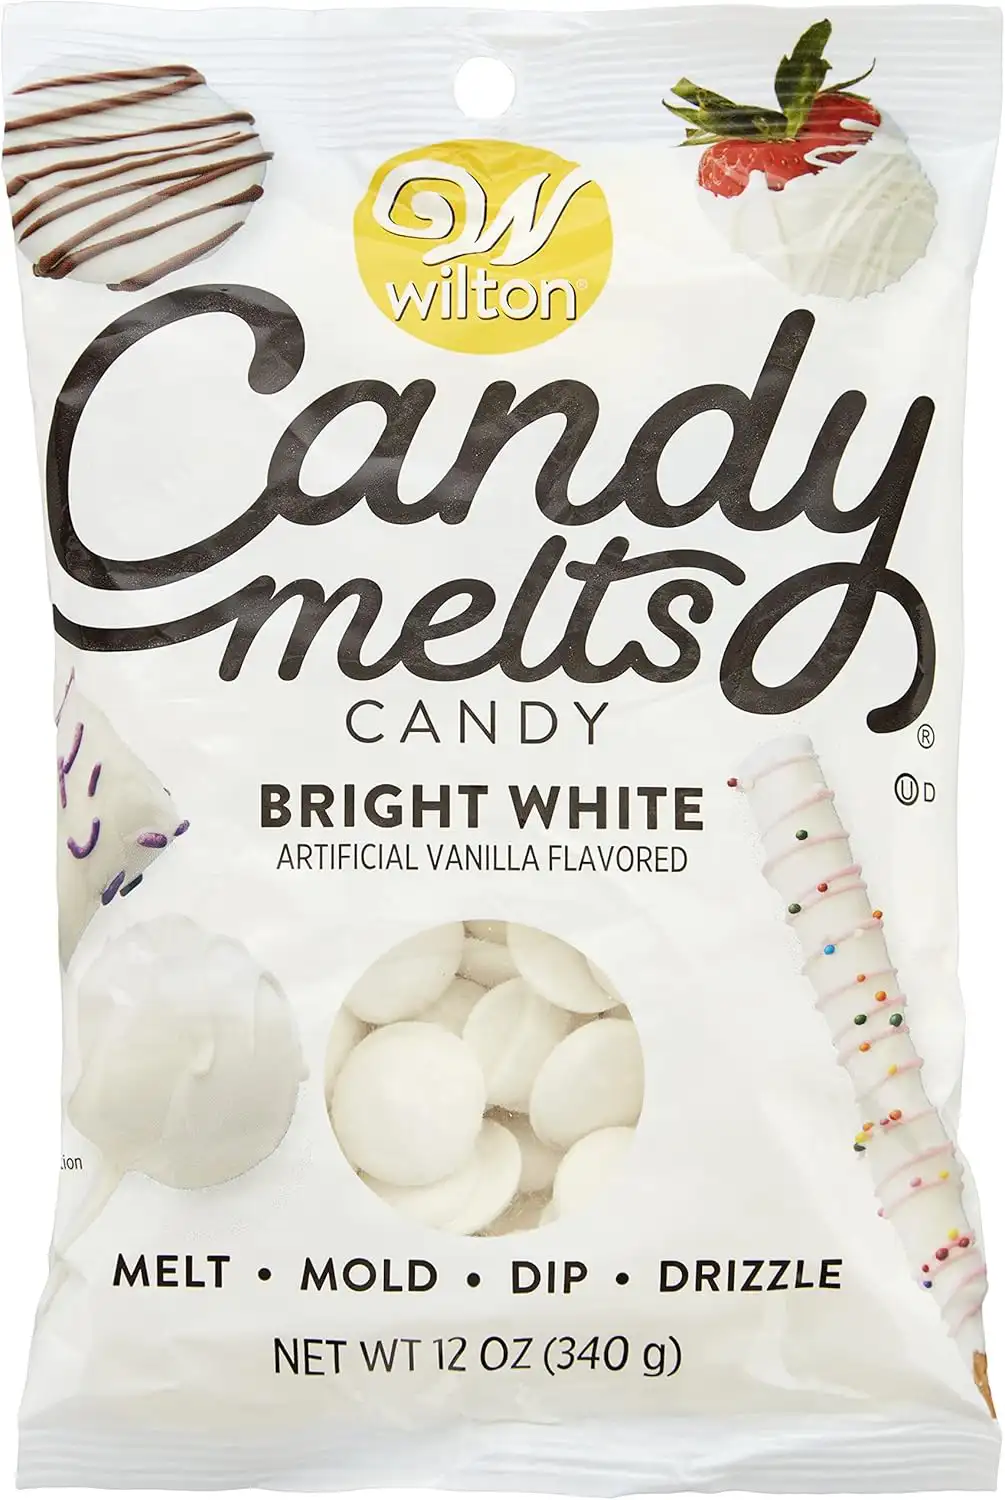
Photo credit: Amazon
Product Information
- Brand: Wilton
- Flavor: Artificial Vanilla Flavor
- Allergen Information: Soy & Milk
- Item Volume: 12 ounces
- Creamy & delicious
- Ideal for coating, molding, or dipping
- Beautiful bright color
- Artificial vanilla flavor
Why We Love It
Things I don’t like about Wilton Bright White Vanilla Candy Melts are their vanilla flavor is artificial and really takes time to melt. But in return, they are super delicious and have a beautiful bright white color after being melted. You will find that these vanilla candy melts will create a lovely coating on your cakes or cookies. You can melt the candies in the bag at a warm temperature.
Best Electric Mixer
Hamilton Beach Electric Hand Mixer
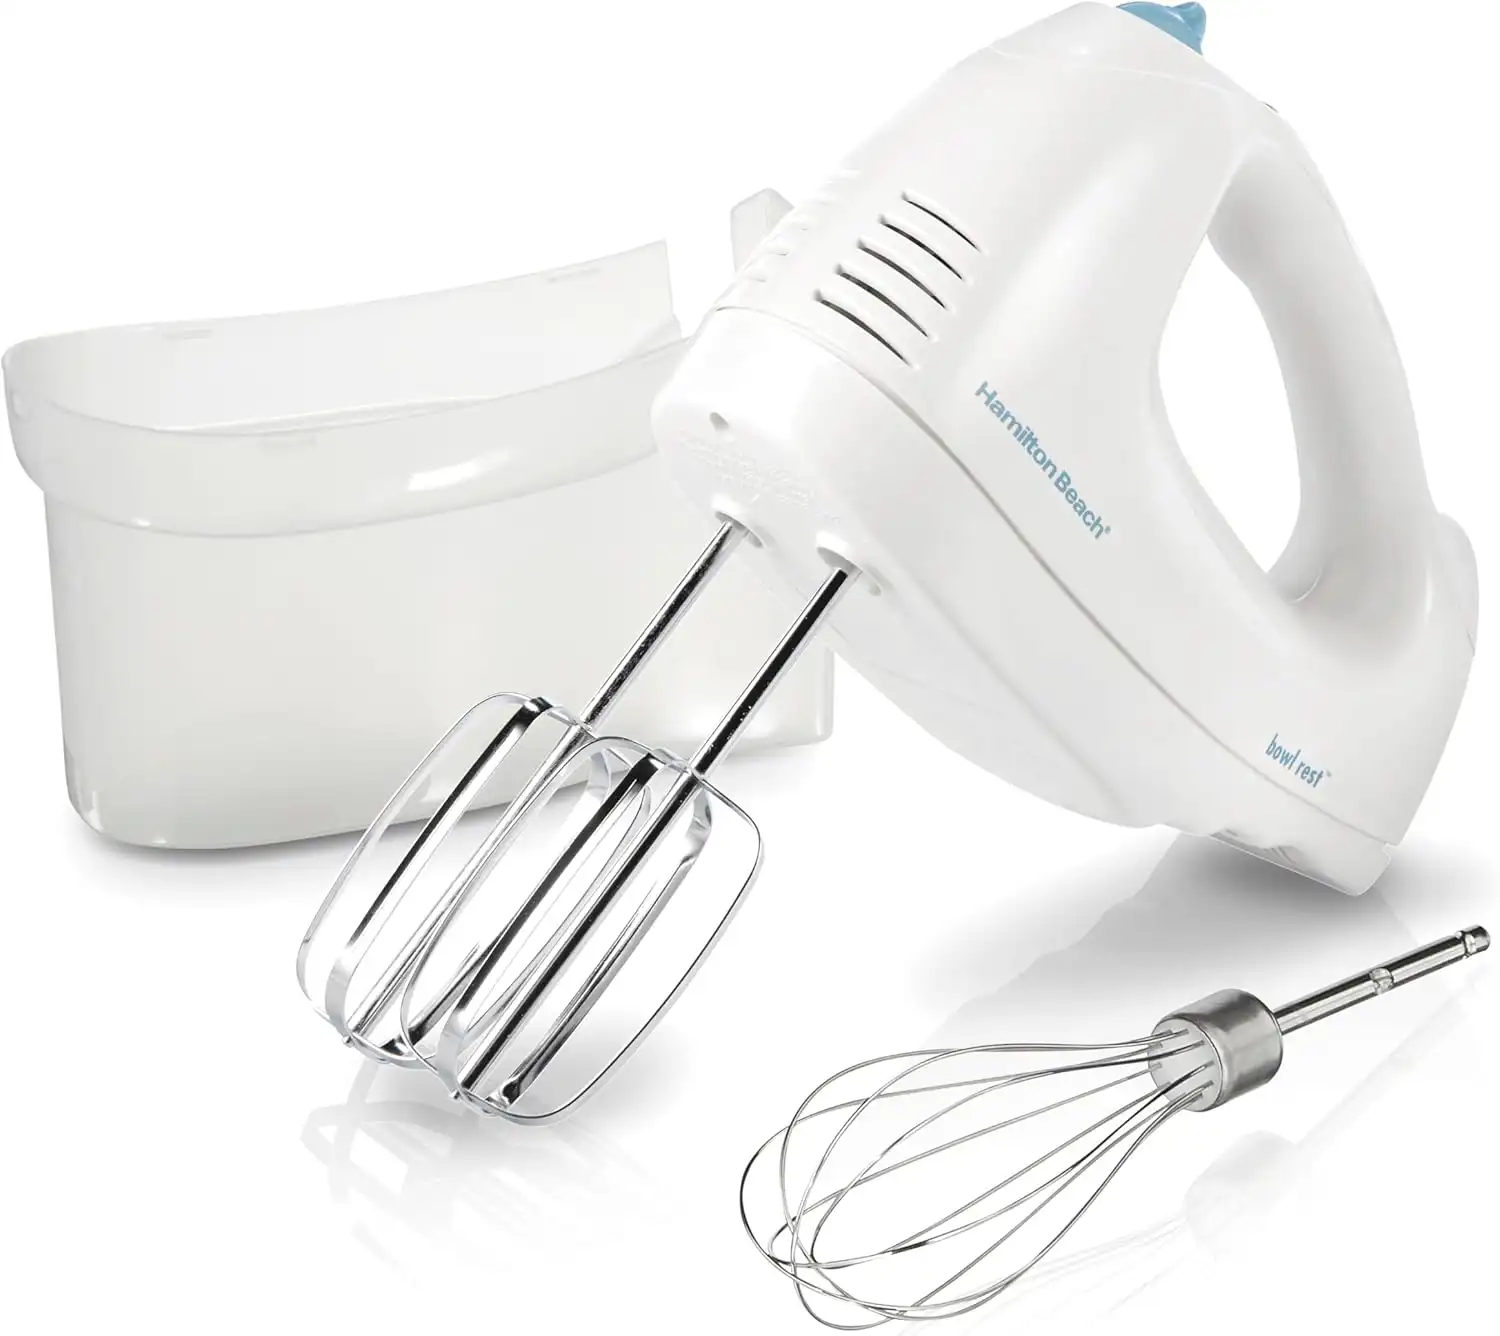
Photo credit: Amazon
Product Information
- Brand: Hamilton Beach
- Blade Material: Stainless Steel
- Blade Material: Plastic
- Feature: Dishwasher Safe
- Number of Speed: 6 speeds
- Item Weight: 1.3 kg
- Easy to use & dishwasher safe
- 6 mixing speeds with 1 wisk & 2 beaters
- Powerful 250-watt mixing performance
- Comes with a convenient storage container
- Lightweight & works very well
- The slowest speed is still quite fast
Why We Love It
In case you still don’t have a mixer, I really want to suggest this Hamilton Beach Electric Hand Mixer to you. It has 6 speeds of mixing with 1 whisk and 2 beaters, which is enough to adapt to all your requirements in baking. After finishing mixing, you just need to push the speed dial to eject the accessories without dirtying your hands. The controls are easy and you can easily get the mixer cleaned in the dishwasher.
Best Cooling Rack
Ultra Cuisine Oven-Safe Baking & Cooling Rack
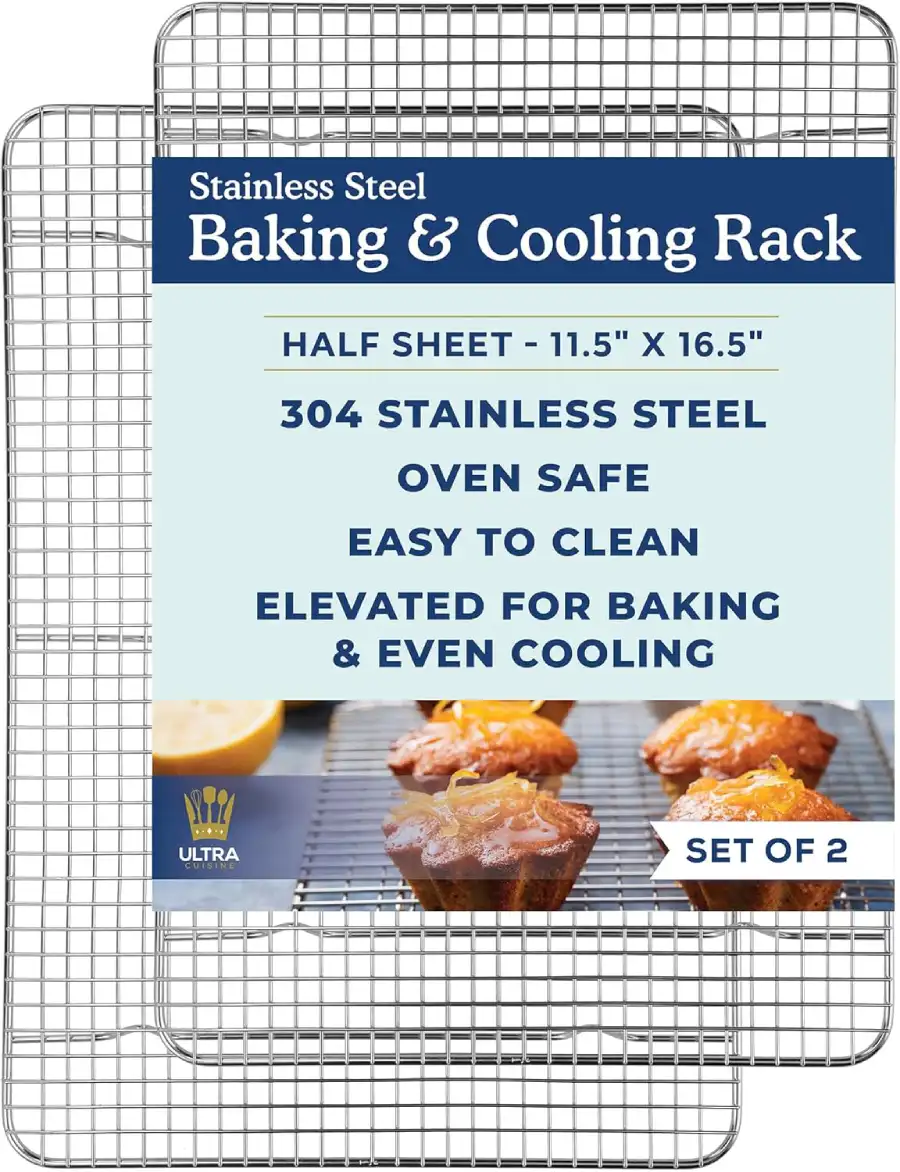
Photo credit: Amazon
Product Information
- Brand: Ultra Cuisine
- Material: 304 Stainless Steel
- Feature: Dishwasher Safe
- Item Dimensions: 16.5″L x 11.5″W x 1″H
- Item Weight: 1.08 pounds
- Made from professional grade 304 stainless steel
- Safe to be used in dishwasher
- Multiple uses & Oven safe
- Include a free recipe book
- Perfect size for a half-sheet
- May have issues with getting the recipe eBook
Why We Love It
You won’t regret investing in this Ultra Cuisine Baking & Cooling Rack. It’s extra sturdy with 304 stainless steel and can be used as a middle rack in the oven. The grid pattern is small enough to hold cookies and easy to clean in the dishwasher. Besides being used as a cooling rack for cakes, you also can use it to bake, roast, smoke, dry, grill, and BBQ. The best part is that the product comes with a free recipe eBook with over 100 recipes for savory meals and yummy treats.
Best Christmas Tree Cakes
Little Debbie Christmas Tree Cakes
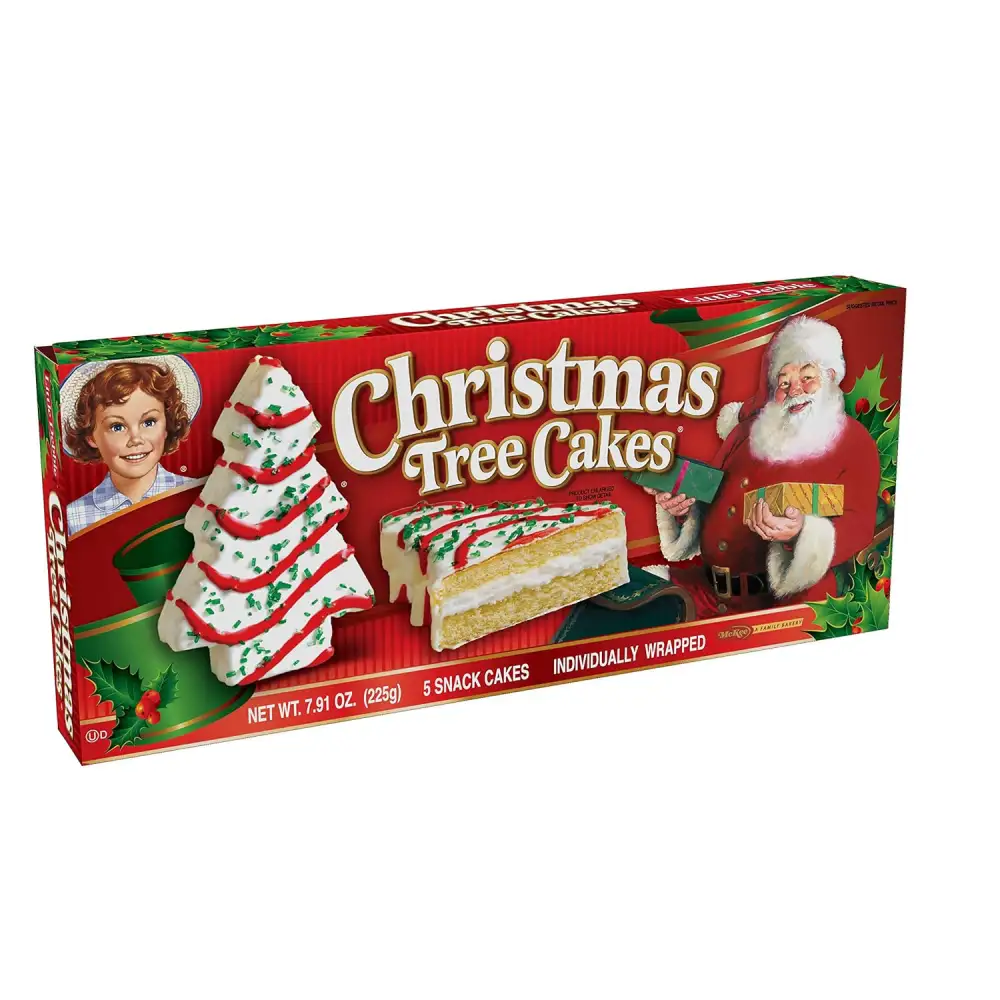
Photo credit: Amazon
Product Information
- Brand: Little Debbie
- Net Weight: 7.91 oz
- Flavor: Vanilla
- Feature: Individually wrapped
- The taste is delicious & not too sweet
- Ideal for gifting
- Great for stuffing X-mas stockings
- High-quality ingredients
- The price may be high for some people
Why We Love It
If you are in a rush time and can’t prepare by yourself, then the Little Debbie Christmas Tree Cakes will be your ideal choice. These cakes are really fresh, delicious, and soft. The inner filling is creamy and light, while the outer icing is not too thick. We find that those Little Debbie’s are quite palatable and not too sweet. Cakes are also individually wrapped, which makes them convenient to serve.
How to Make Little Debbie Christmas Tree Cakes?
The festive season is just around the corner! Why not elevate your Christmas party with these delightful homemade Little Debbie Christmas tree cake dip recipe?
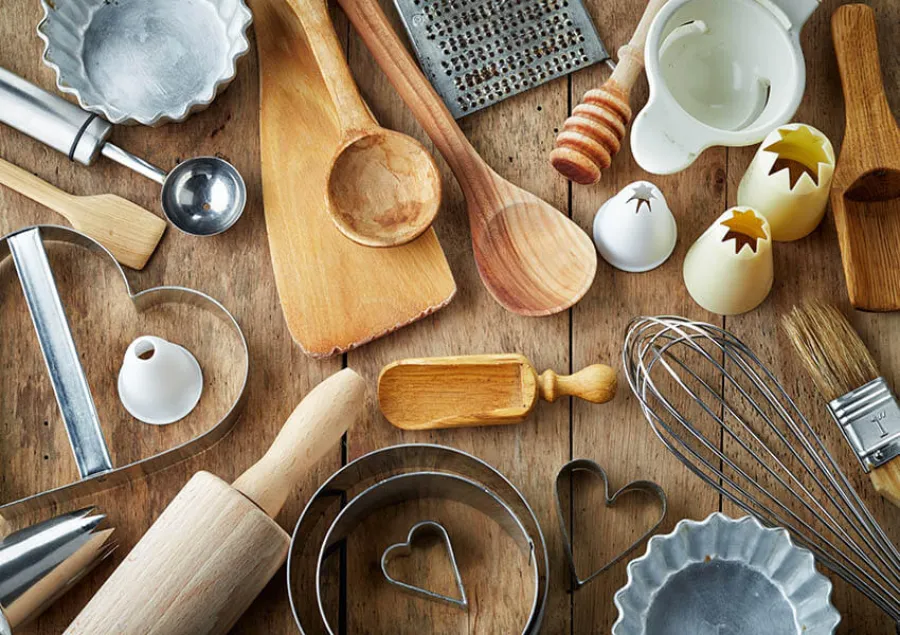
Essential Kitchen Tools You’ll Need
Let’s equip your kitchen for some holiday baking magic! You’ll need:
- Mixing bowls
- Measuring cups and spoons
- Electric mixer
- Spatula
- Baking sheets
- Parchment paper
- Rolling pin
- Fondant cutter (Christmas tree cookie cutter – of course)
- Piping bag and tips
- Pastry brush
- Cooling rack
Armed with these tools, you can channel your inner baker and whip up some tasty Little Debbie Christmas Tree cakes recipe.
Ingredients For Little Debbie Christmas Tree Cakes
Get ready to bake! For this Little Debbie Christmas Tree cakes recipe, you’ll need these ingredients to serve approximately 8 people.
For cake
| Name of ingredient | Content |
| White cake mix | 1 box |
| Granulated sugar | 1 cup |
| Baking powder | 2 teaspoons |
| Kosher salt | ½ teaspoon |
| Vanilla extract | 2 teaspoons |
| Almond extract | ¼ teaspoon |
| Large egg yolks | 4 |
| All-purpose flour | 1 ½ cups |
| Milk | ⅔ cup |
| Spiced rum (optional) | 1 oz |
For filling
| Name of ingredient | Content |
| Large egg whites | 4 |
| Granulated sugar | ¾ cup |
| Kosher salt | ½ teaspoon |
| Unsalted butter | 2 sticks |
| Vanilla extract | 1 teaspoon |
| Almond extract | ¼ teaspoon |
For decorating
| Name of ingredient | Content |
| Vanilla candy melts | 10 oz |
| Green sanding sugar | 2 tablespoons |
| Red cookie icing | 1 tube |
If your family has fewer “elves” or an extra Santa, don’t hesitate to adjust the ingredients accordingly for serving size. Now that we have everything, let’s get to the important part!
Instructions to Make Little Debbie Christmas Tree Cakes
Great, you’re all set! Let’s dive into this secret Little Debbie Christmas Tree cakes recipe I swiped from the elves. Shhh, don’t tell Santa! LOL.
Step 1: Preparing
The first step of the Little Debbie Christmas tree cake recipe is to preheat your oven to 350 degrees (180°C). Don’t forget to spray two 9 x 13-inch rimmed baking sheets with nonstick cooking spray and line them with parchment paper.

Step 2: Mix the Ingredients
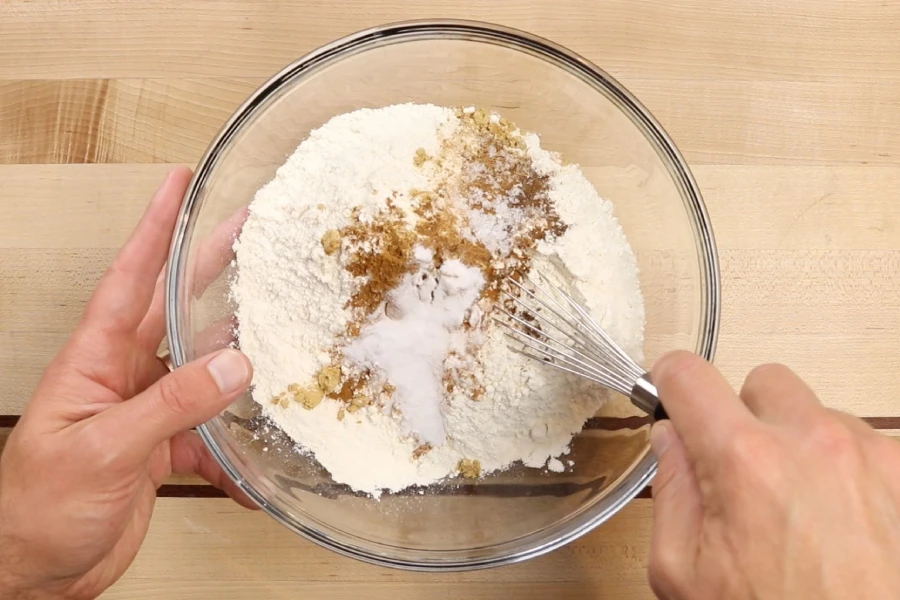
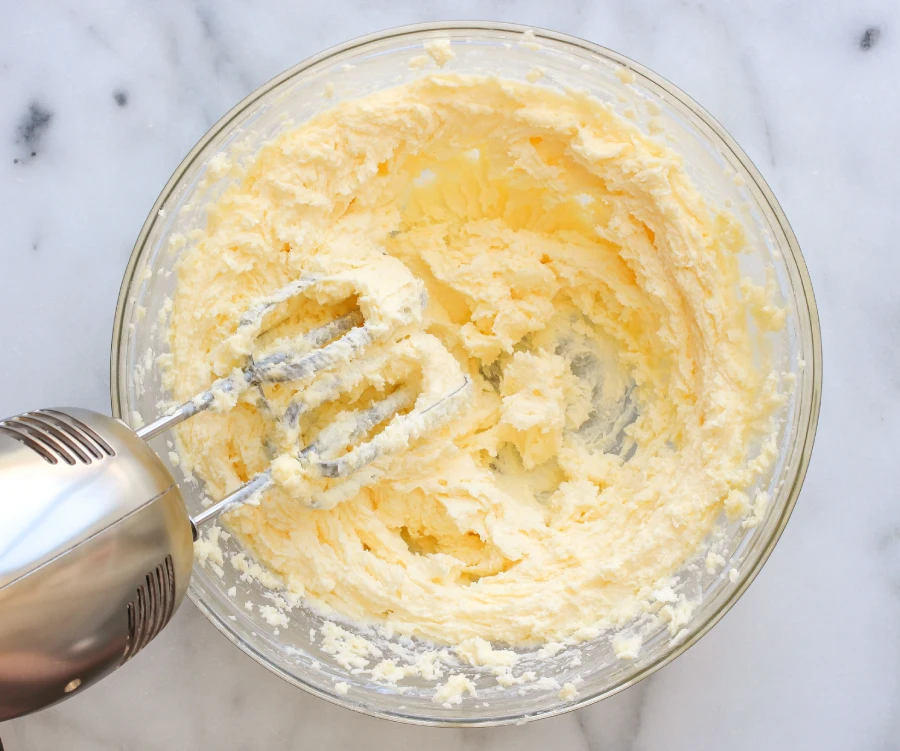
In a large bowl, whisk together the butter room temperature, sugar, baking powder, salt, vanilla, and almond extract. Beat the mixture on medium speed until it’s light and fluffy. This should take about 5 minutes.
Step 3: Mix the Flour and Egg
Gradually add the egg yolks, one at a time, while mixing. This ensures that the egg yolks are fully incorporated into the batter.
Time to add the flour! Mix in a third of it now. Want to add some rum? Mix it with the milk first, then add it to the batter. Your Little Debbie Christmas tree cake recipe will thank you! Keep adding flour and milk until everything is mixed. Afterward, use a rubber spatula to fold the batter.
Step 4: Bake the Cake
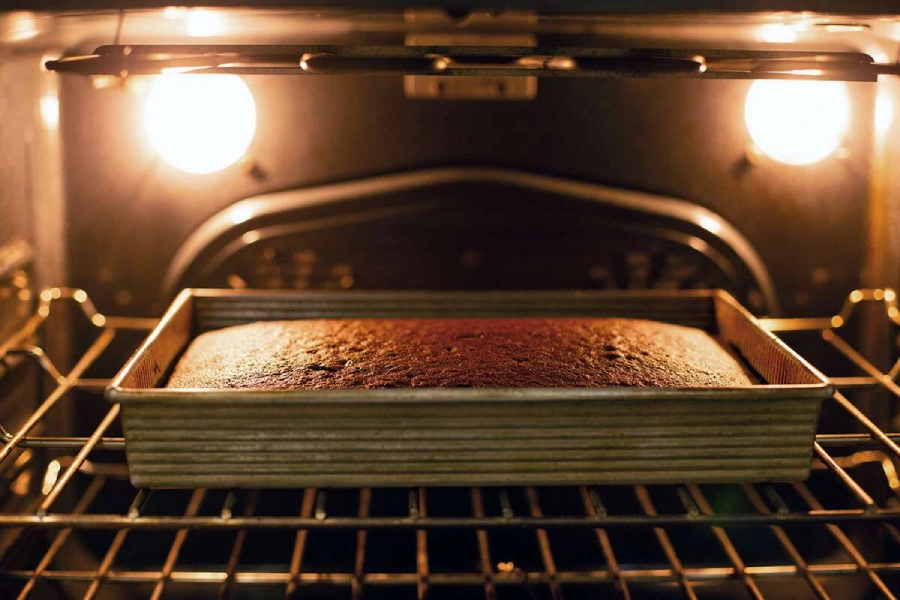
The next step in the Christmas tree cake Little Debbie recipe is baking the cake. Grease a baking pan with parchment paper and equally distribute the batter into it. Bake for ten minutes, turning the pan midway. Bake until golden brown and the edges pull away from the pan. The cake needs to be taken out of the oven! Let it cool down completely.
Step 5: Prepare Egg for the Filling
While our cake is chilling out, let’s get cracking on the filling! Grab a big pot (or a small one if that’s all you’ve got) and pour in some water – just an inch or so. Now, place a heatproof bowl inside.
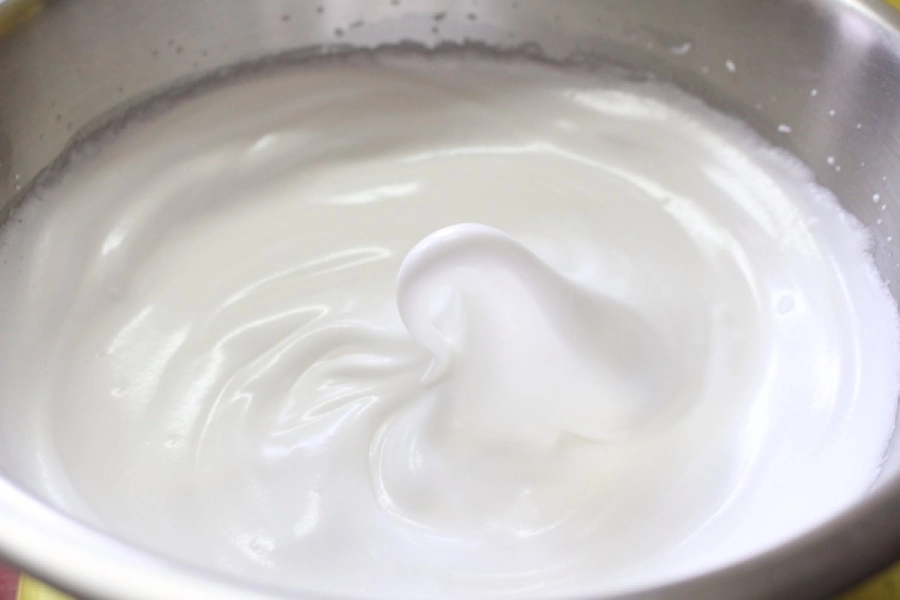
Crack those egg whites into the bowl, add a pinch of salt and some sugar, and whisk away until it’s all mixed up. Turn down the heat to low and keep whisking until the egg whites are thick and glossy, and you can make a stiff peak with your whisk. Imagine it like a little meringue mountain! When you lift the whisk out, the mixture should hold its shape for a few seconds before slowly melting back into the bowl.
Step 6: Get the Remaining Filling Ready
Alright, let’s get this Little Debbie Christmas tree cake recipe show on the road! Take that bowl off the heat and set it down on a tea towel on your countertop. Grab your handheld electric mixer and whip those egg whites on medium-high speed until they’ve doubled in volume. It should take about 5 minutes.
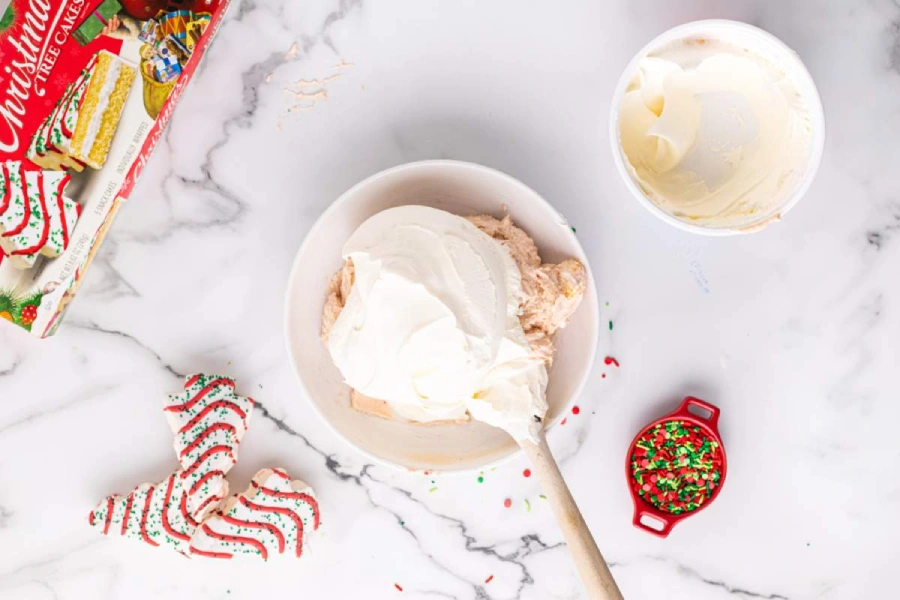
Now, turn down the mixer to medium speed and, while it’s still running, add the butter, one cube at a time. When you add the last bit of butter, it’s going to look like the mixture is breaking; don’t panic! Just keep mixing until it comes back together again, about a minute or so. Add the vanilla and almond extract, and mix until it’s all combined.
Step 7: Assemble the Cake and Filling
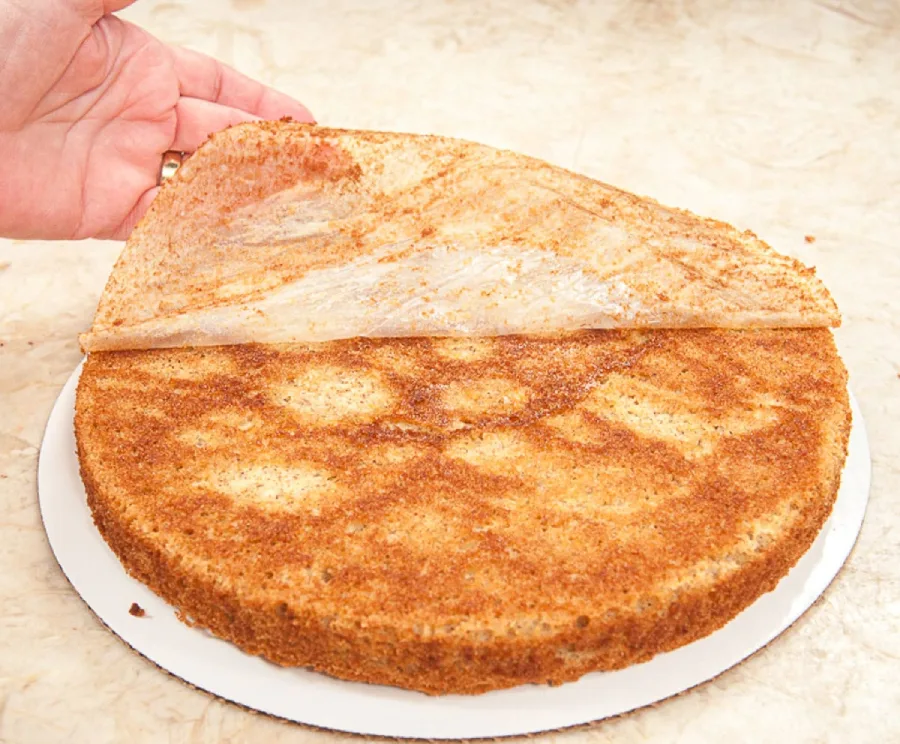
When the cake is entirely cool, turn it out onto a parchment paper-lined baking sheet. Carefully peel off the parchment paper from the bottom of the cake. Gently flip it over again so the flat side is down.
Spread your filling evenly over the cake, then top it with the other cake layer. Remember to peel off the top layer of parchment paper! Slide the baking sheet with the cake onto a flat surface and pop it in the freezer until it’s firm but not completely frozen. This should take about an hour.
Step 8: Cake Shaping
Now, it’s time for the fun part when doing Little Debbie Christmas tree cake recipe! After the cookies have been frozen for an hour, remove the cake from the freezer and start cutting. Use a Christmas tree cookie cutter to cut out 8 cake pieces (or more if you’ve got a bunch of hungry elves!), and place them on a baking sheet. Pop them back in the fridge for another 5 minutes to chill out. Feel free to nibble on the crumbs!
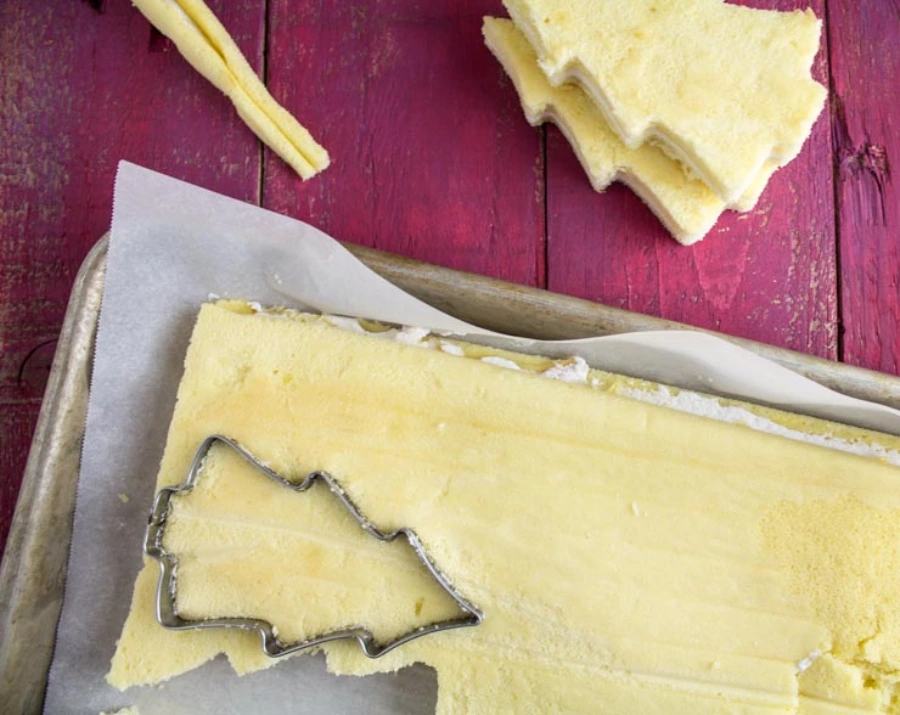
Step 9: Decoration
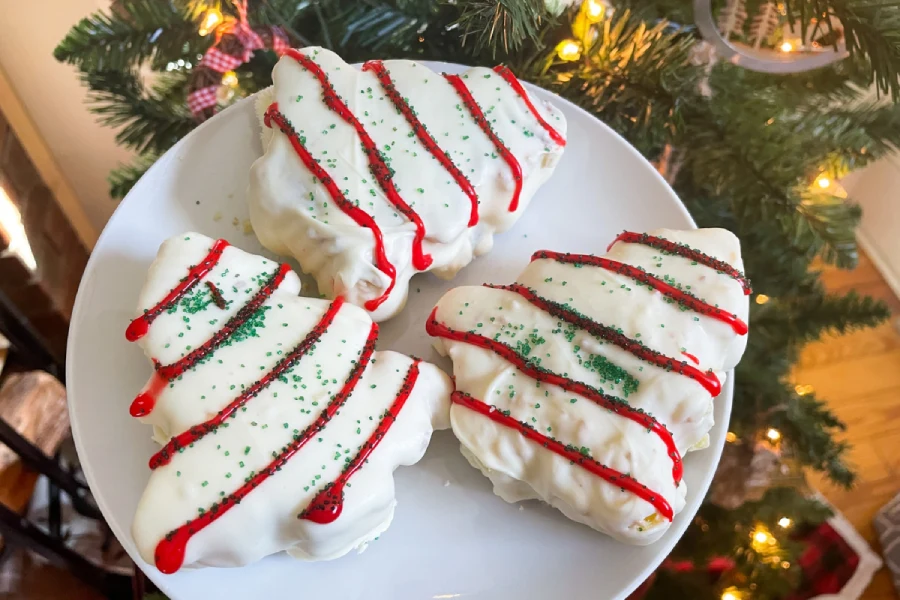
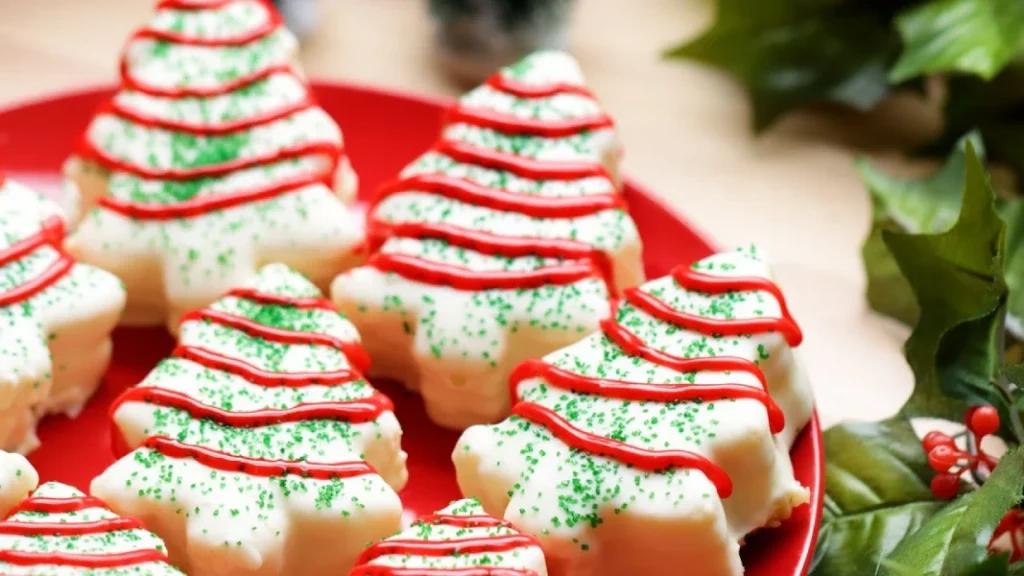
Let’s get this party started! Melt the candy coating in the microwave or over a double boiler. Dunk those cookies right in! Now, it’s time to deck the halls (or should I say trees?) with green sprinkles and red frosting. Chill them out for 5 minutes, and voila – you’ve got yourself a Christmas treat!

You’ve nailed the sweetest dessert for a warm Christmas night! But wait, there’s more! The Little Debbie Christmas Tree cakes recipe has a few more tricks up its sleeve. Keep scrolling for more fun facts!
Nutrition Facts of Little Debbie Christmas Tree Cakes Recipe
Little Debbie Christmas tree cake dip recipe not only makes Santa cry because of its delicious taste but also because of its nutrition. You can check the nutrition facts table below for more details.
| Nutrient | Amount | % Daily Value |
| Calories | 265 kcal (for a piece of cake – 57 grams) | |
| Fats | 13 grams | 16% |
| Saturated fats | 6 grams | 31% |
| Sodium | 126 milligrams | 5% |
| Carbs | 35 grams | 13% |
| Fibers | 1 grams | 5% |
| Protein | 1 grams |
Little Debbie Christmas Tree Cakes Recipe Variations
Looking to spice things up a bit? Want to make Santa do a double-take? Here are some fun twists on this classic recipes using little Debbie Christmas tree cakes:
Chocolate
Are you a chocoholic or simply love the rich taste of chocolate chip ricotta cake? Why not give a chocolate Little Debbie Christmas Tree cake a try? The possibilities are endless!
Swap out the white candy coating for chocolate and go all out! Or, for a real chocolate overload, create a 3-layer chocolate masterpiece. Chocolate cake, chocolate filling, and a chocolate coating? Yes, please! Add some white sugar and gold frosting for a touch of elegance.
Red-velvet
Want to add a pop of color? Mix a little red food coloring into your batter and create a stunning red velvet version. The contrast between the red cake and white cream will be a real showstopper! Finish it off with green sugar sprinkles for a festive touch.
Cheesecake
Are you a die-hard cheesecake lover, especially those indulgent ones like Popeyes Oreo cheesecake? Want to give it a festive twist for Christmas? Go for it! Why not try this Little Debbie Christmas Tree Cheesecake cake recipe? Instead of the usual sponge cake, just turn it into a cheesecake. You’ll love it
Olivia’s Helpful Tips for a Sweet Christmas
If you’ve made it this far, congratulations. I’m going to reveal some special tips I’ve picked up from the Christmas elves. Shhh. Not everyone knows this!
Leave the ingredients cool at room temperature: This will help you mix them and give your cake a smoother, more consistent texture.
Freeze the cake longer after frosting: The frosting actually takes about 5 minutes to set. However, if you can, leave it in the fridge for a little longer. This will help the cake stay crispy and fluffy on the inside.
Use a large baking tray: Baking the cake on a large baking tray will give you a thinner cake, and of course, don’t forget to spread the batter evenly.
Decorate immediately after frosting: Sprinkle the green sugar and frosting on the cake right after dipping it in the melted candy. This guarantees the cake’s embellishments adhere to it.
Only the coolest elves know these tricks. Save them for your next Christmas party!
What are Ingredient Substitutes?
Don’t have all the ingredients? Don’t worry. I’ve got you covered! You can try these few substitutions for recipes using little Debbie Christmas tree cakes. Trust me, your cake will still taste amazing (I’ve tested it!).
- Cake mix: If you don’t have white cake mix, you can make your own using all-purpose flour, sugar, baking powder, baking soda, and salt. Online recipes are widely accessible.
- Baking soda: If you’re missing baking powder, you can make your own by combining baking soda and cream of tartar.
- Salt: Use around 3/4 of the amount of table salt in place of kosher salt.
- Vanilla extract: Vanilla bean paste or a strong vanilla essence can be used in place of vanilla extract if you don’t have any.
- Candy melts: If you don’t have candy melts, you can use chocolate chips or white chocolate chips.
What can Little Debbie Christmas Tree Cakes be Served with?
Want to put your own spin on the classic Little Debbie Christmas Tree cakes recipe? Go for it! Pair it with a scoop of vanilla ice cream for a cool and creamy combo, or top it with whipped cream for a light and fluffy treat. Fresh strawberries add a pop of color and flavor.
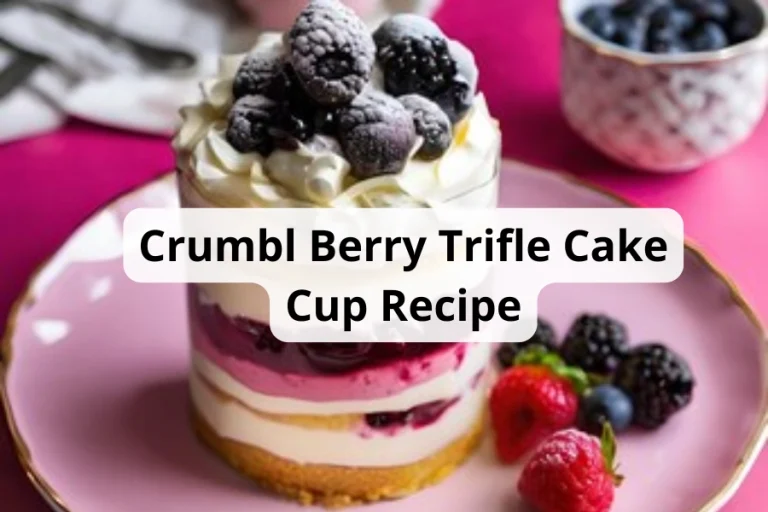
Feeling festive? Host a dessert party with Santa and include your Little Debbie cakes alongside other treats like Xmas shortbread biscuits, crumble berry trifle cake cups, and Christmas cake pops. No matter how you serve them, these cakes are always a crowd-pleaser!
Why You’ll Love This Recipe?
Because this isn’t just a cake, it’s a Christmas miracle in every bite! So easy to make, it’s like magic! It’s so easy, even a Grinch could bake it. And who doesn’t love a green-hued treat?
This Little Debbie Christmas Tree cakes recipe is a breeze to make with ingredients you already have. It’s so cute and tasty, it’s almost too good to eat! Your Instagram followers will be drooling over this festive treat. There’s nothing better than a mini cake to celebrate Christmas. Save this recipe and level up your holiday party!
Final Thought
Shhh! Don’t tell Santa, but this is the secret recipe used by the elves to make those delicious Little Debbie Christmas Tree cakes. Now you know the truth.
Warning: This Little Debbie Christmas Tree cakes recipe may cause excessive happiness, uncontrollable sugar cravings, and a deep, blissful sleep. If you experience any of these symptoms, congratulations, you’ve successfully! Invite your friends and family, break out the sparklers, and let the sugary festivities begin.
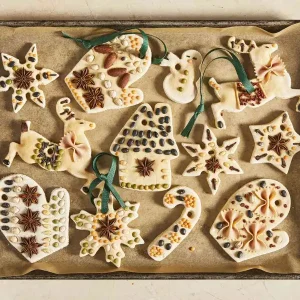
Salt Dough Recipe
Equipment
- 1 Mixing bowl – To mix the ingredients.
- 1 Spatula/Wooden spoon – To combine & stir the ingredients.
- 1 Rolling Pin – For rolling out the salt dough.
- 1 Cookie Cutter – To shape the dough.
- 1 Oven – For baking the salt dough.
- 1 Baking sheet – For baking the salt dough.
- 1 Paint tool – To paint the ornaments after baking.
- 1 Toothpick, skewer, lollipop stick, or straw (optional) – To create hanging holes in ornaments.
- 1 Threading ribbon or twine (optional) – To hang the ornaments.
- 1 Glitter & sealant (optional) – For a beautiful & lasting finish.
Ingredients
- 2 cups All-purpose flour/ Plain flour
- 1 cup Table Salt
- 1 cup Tap Water
Instructions
- Step 1: Preheat The OvenPreheat the oven to 250°F (120°C). Don’t forget to line a baking sheet with parchment.

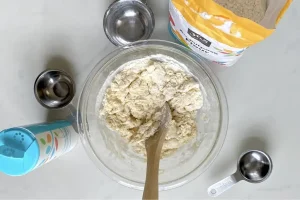
- Step 2: Make the DoughIn a large mixing bowl, put all the all-purpose flour and salt together. Then, use the spoon to stir them together until evenly distributed. Then, gradually add the warm water to the dry mixture, stirring constantly until it begins to form a ball.
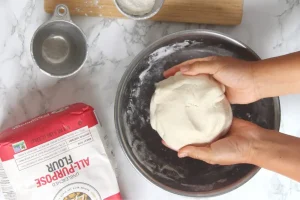
- Step 3: Knead the DoughOnce the mixture comes together in a shaggy ball, place it onto a flat surface and knead the dough with your hand for about 5–10 minutes. You can stop when the dough becomes smooth, elastic, and not sticky. If it is dry, you can add a teaspoon of water at a time. If the salt dough is too sticky, try adding more flour.
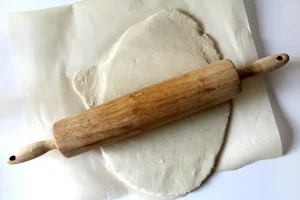
- Step 4: Roll Out the DoughUse a rolling pin and roll the dough out to about ¼ inch thickness. This is a perfect thickness for any of your desirable shapes.
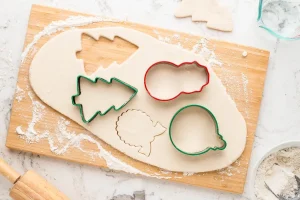
- Step 5: Cut Your Shapes Use cookie cutters of your favorite to cut out desired shapes. For ornaments, use a toothpick or straw to poke a hole at the top for threading ribbon or twine later.
- Step 6: Bake the DoughTransfer the shapes to a baking sheet. Bake for about 3 hours and don't forget to flip halfway through. The ornaments should be hard and dry after the time. The baking time will vary based on the thickness, so you need to keep an eye on your salt dough ornaments.Let the baked ornaments cool entirely before painting. Then you can decorate your salt dough items with paint and glitter.




gv5in6
3juoz9
mh789v
va4dzy
bot1ei