
Are you addicted to Starbucks Pineapple Cloud Cake but do not have time to go buy it when you crave it? Just follow the easy recipe at home! Starbucks Pineapple Cloud Cake is a favorite dessert from one of the most iconic brands in the world. The cake’s tropical flavor makes me a loyal fan of this global brand. Starbucks is known for its coffee and delicious cakes. Its Pineapple Cloud Cake is a favorite. It’s always a high-quality recipe and seasonal.
I’m excited to share a quick and easy recipe with you so you can create Starbucks Pineapple Cloud Cake at home as a devoted fan of the recognizable brand. Even if this simple pineapple cloud cake Starbucks recipe is a duplicate, you may still make this delicious delicacy in your own home.
Starbucks Pineapple Cloud Cake Recipe At Home
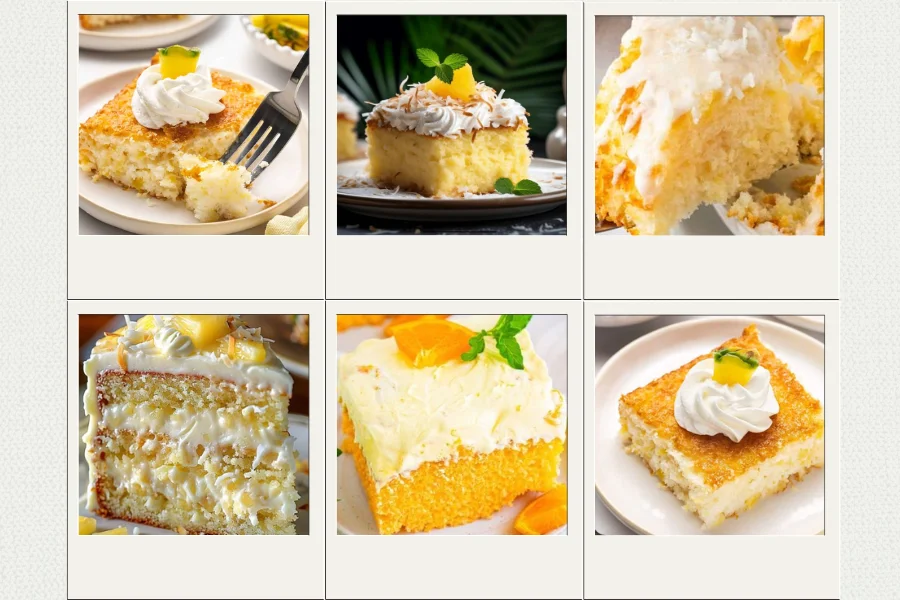
A delightfully light and fluffy treat with a tropical taste is the Pineapple Starbucks Cloud Cake recipe. Features Pineapple Starbucks Cloud Cake melts in your tongue because of its soft, fluffy layer of sponge cake that has been subtly sweetened. I love how the sweetness and sourness are balanced. The cloud cake is perfect for any occasion like event, be it a peaceful evening with a cup of tea or coffee, a family get-together, or a summer picnic.
Kitchen Tools You’ll Need
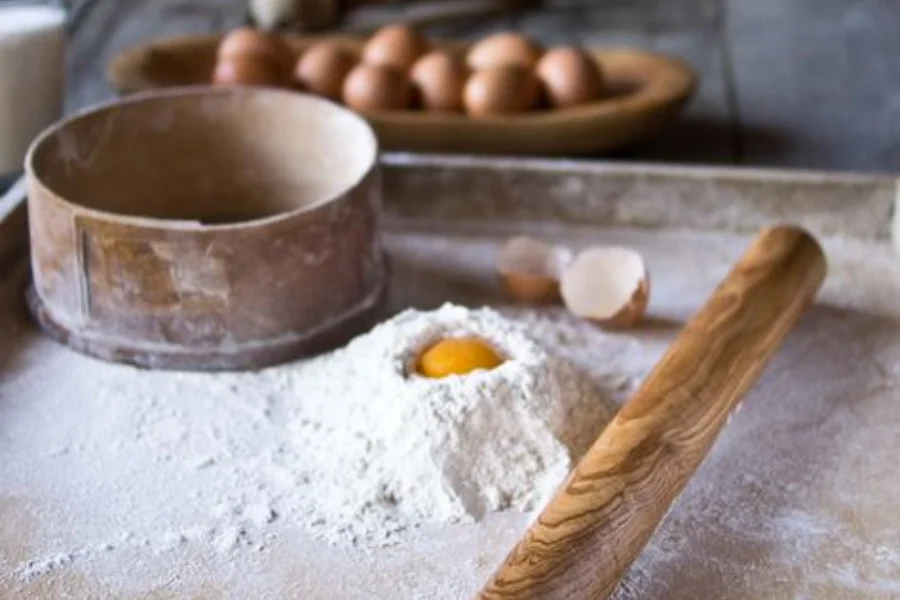
You need to gather must-have kitchen tools for Pineapple Starbucks Cloud Cake recipe. The vital tools will not only elevate your flavor of the cake but also ensure that each step of the process is executed smoothly, limiting the kitchen challenges. So list of the kitchen tools you’ll need to make your Pineapple Cloud Cake homemade:
- Cake pan: You can prepare the muffin pan or a 9-inch cake pan. Picking up. You can choose accordingly depending on your desire for cake size
- Bowls in several sizes: You can mix the cake batter, filling, and frosting.
- Spatula: You can fold ingredients and spread the frosting.
- Electric or hand mixer: You can mix the cream for the frosting and cream the butter and sugar. Electric tools can help you save time.
- Saucepan: A saucepan is so important for cooking the perfect pineapple filling alike Starbucks style.
- Cake Stand or Serving Plate: You need the plate to enjoy your wonderful product.
All Ingredients You’ll Need
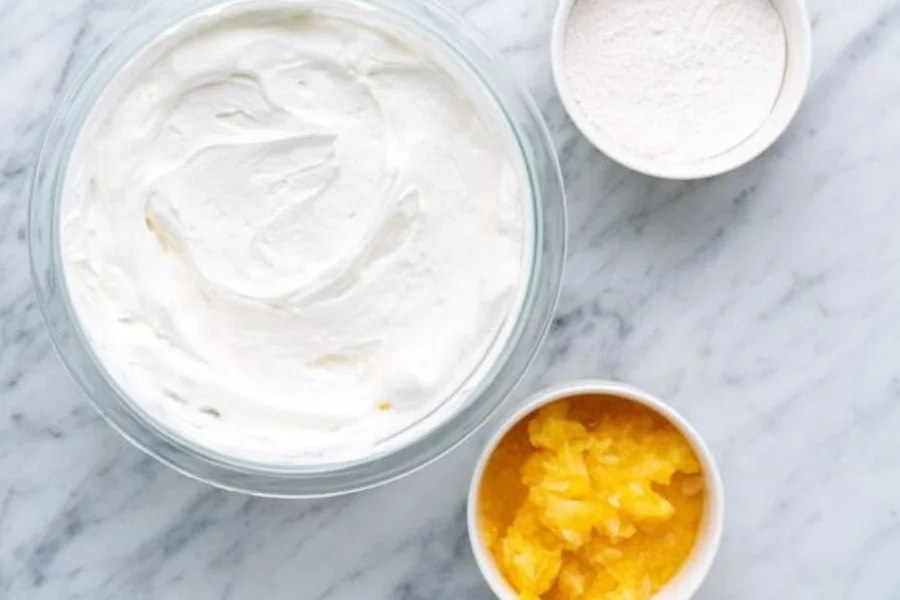
Before you begin the Pineapple Starbucks Cloud Cake recipe, you should be ready with all the required ingredients. I’ll reveal types of ingredients for 3 parts including: cake, whipped cream frosting, and pineapple filling. The handmade Starbucks Pineapple Cloud Cake recipe calls for several common and accessible components.
For the Pineapple Cloud Cake:
- 1 cups all-purpose flour
- 1/2 teaspoon baking powder
- 1/4 teaspoon salt
- 1/2 cup unsalted butter, softened
- 1 cup granulated sugar
- 2 large eggs
- 1 teaspoon vanilla extract
- 1/2 cup whole milk
For the Pineapple Filling:
- 1 cup of crushed pineapple in juice (20 oz)
- 1/2 cup granulated sugar
- 1 tablespoon cornstarch
- 1 teaspoon lemon juice
For the Whipped Cream Frosting (optional):
- 1 cup heavy cream
- 1/4 cup powdered sugar
- 1/3 cup Pineapple Preserves
- 1/3 cup crushed pineapple
How To Make Starbucks Pineapple Cloud Cake Recipe Instructions
Starbucks Pineapple Cloud Cake unlike homemade mug cakes like honey mug cake or lemon mug cake, is simpler and quicker. Making a Pineapple Cloud Cake Starbucks Recipe is a bit more complicated with a few steps. With the experience of a long-time fan of Starbucks Pineapple Cloud Cake, I will guide you through the 4 parts from the cake layers to the pineapple Filling and finally the frosting.
Part 1: For The Pineapple Cake:
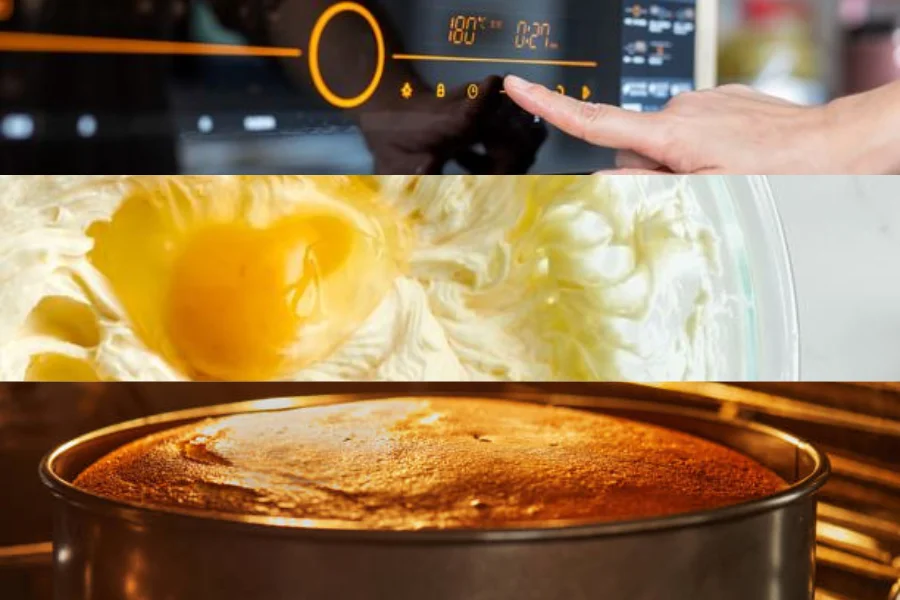
- Step 1: Preheat and Prepare: You should preheat your oven to 350°F (175°C) before combining ingredients. And remember to use cooking spray to coat the muffin tray in order to avoid sticking.
- Step 2: Mix Dry Ingredients: In a prepared mixing bowl, you can whisk together the dry ingredients, including flour, salt, baking soda, and baking powder, and set this mixture aside after that.
- Step 3: Mix Wet Ingredients: Like Step 2, In another mixing bowl, you also combine the wet ingredients like oil, crushed pineapple, vanilla extract, sugar, and egg. Ensure that you mix until well blended.
- Step 4: Fill and Bake: Let’s fill the muffin tins with the batter with your spoon. Then, you can bake for 20-23 minutes, or until you see the muffins are golden brown. The time baking will depend on your size cake or cake type. You can check by using a toothpick inserted into the center. Your cake will be ready to decorate if the outcome is clean.
Part 2: For The Pineapple Filling
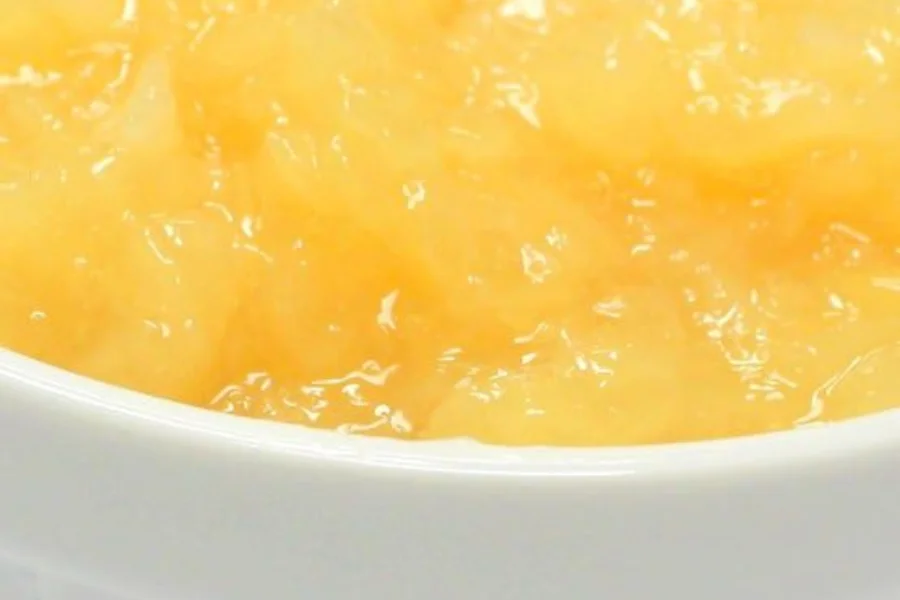
You can prepare a pineapple mixture while the pineapple is baked by adding the juiced pineapple, sugar, cornstarch, and lemon juice together. Keep in mind that you must simmer the mixture over medium heat, stirring regularly, until it thickens and turns translucent. After 5-7 minutes, you should let the filling cool completely before using.
Part 3: For The Whipped Cream Frosting (optional):
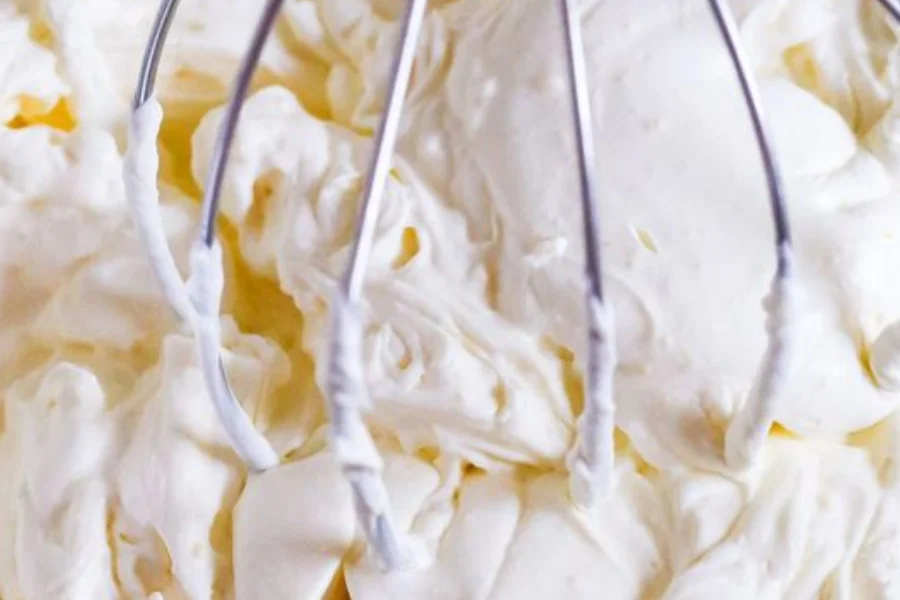
To make firm peaks, whisk together heavy cream, powdered sugar, and vanilla extract. However you should be careful not to overwhip, or the cream may become grainy.
Part 4: Layer and Decorate:
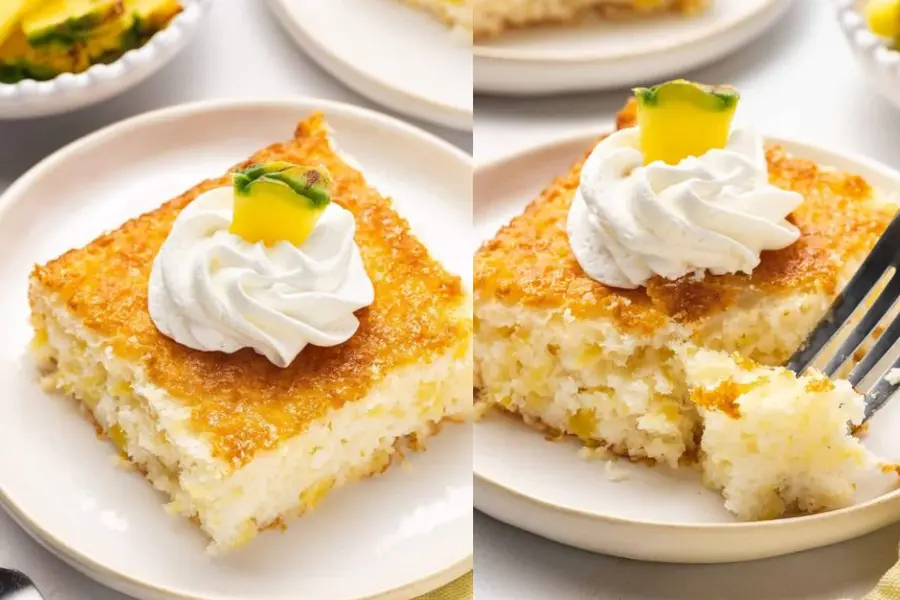
- Step 1: Layer the cake: Generously cover one of the cooled cake layers with a layer of pineapple filling after placing it on a serving platter. Repeat the next steps until you have covered the entire cake layer.
- Step 2: Decorate: Depending on your desire, you can garnish pineapple cloud cake with fresh pineapple slices or a sprinkle of shredded coconut.
Recipe Variation
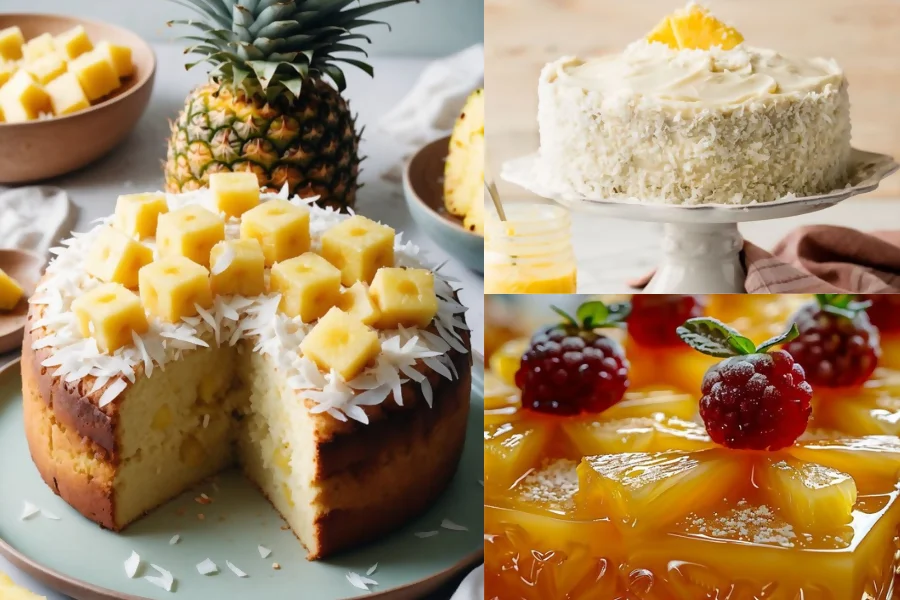
In addition to the basic flavor as per my directions, you may personalize the pineapple cloud cake to suit your tastes. I will suggest you some ways to enjoy this cake more interesting:
- Coconut Pineapple Cloud Cake: Instead of using whole milk in the cake mixture, you may use coconut milk and shred some of the flour.
- Berry Pineapple Cloud Cake: You may pour a berry compote on top of the cake after combining frozen or fresh berries with the pineapple filling.
- Tropical Pineapple Cloud Cake: You might try adding mango or passion fruit to the cake batter or filling instead of only pineapples.
Nutrition Facts of Pineapple Starbucks Cloud Cake recipe
For 1 serving of 74g
| Nutrient | Value | % Daily Value |
| Calories | 240 | |
| Calories from fat | 90 | |
| Total fats | 10g | 13% |
| Saturated Fat | 4.5 g | 23% |
| Cholesterol | 15mg | 5% |
| Sodium | 150mg | 7% |
| Protein | 6g |
Olivia’s Helpful Tips: Enhance Your Cake Flavor
While following the recipe you may encounter some minor problems. I’ll share some advice with you as a devoted follower of the Pineapple Starbucks Cloud Cake recipe to make sure your pineapple cake tastes and feels just right:
- Use room-temperature cream cheese to prevent lumps. So, you can get the best results
- After drying pineapple slices with a paper towel, let’s add them to the cake to avoid a soggy topping.
- Keep your heavy whipping cream cold for faster and more efficient whipping.
- To intensify the pineapple flavor, brush some of the reserved juice over the sponge layers, but be careful not to use too much or it might make the cake too wet.
What can Starbucks pineapple cloud cake be served with?
There are so many ways to enjoy the tropical dessert. Starbucks pineapple cloud cake be served with? Here are a few suggestions I’ve had over the years.
- Coffee: Naturally, coffee is a classic choice. A velvety espresso to balance the cake’s sweetness, or go with a cold brew to refresh the twist are both ideal options. Similarly, a standard coffee is also picked to enjoy with other cakes like strawberry cheesecake, honey mug cake, pistachio ricatto cake, etc.
- Ice Cream: The mix of cold, smooth texture of the ice cream and a little bit of sourness from the cake can take you traveling a tropical land.
- Sparkling Wine: If you follow up elegant style, sparkling wine is the ideal pick. You can enjoy this cake at a party or in a celebratory moment.
- Tea: Tea is also a classic style like coffee. If you’re not a coffee lover, a pot of freshly brewed tea can be just as delightful. I suggest jasmine or Earl Grey offer a balance note that complements the cake without overpowering it.
- Whipped Cream and Berries: A spoonful of whipped cream and a sprinkling of fresh berries are an easy yet tasty addition. The whole experience is elevated by the tart contrast of the berries and the luscious touch of cream.
Why will you love this recipe?
You will love the Pineapple Starbucks Cloud Cake recipe for many reasons. But the winning feature is the taste. The texture combines perfectly a light, airy, delightful texture with a vibrant tropical flavor. Each slice has spongy, cloud-like layers that melt in your mouth, perfectly balancing the rich sweetness of the cake with the tart pineapple filling. Besides, Pineapple Cloud Cake is a beautiful cake and very familiar to Starbucks fans. You can easily adapt it to variations such as Pineapple Coconut or Pineapple Berry.
The recipe is easy to make and can be used on many occasions from satisfying your taste to serving for afternoon tea or important parties. It is very suitable for the classic style when served with tea or coffee to elegant when served with wine.
FAQs
The pineapple cloud cake can be stored in the refrigerator for up to 3 days. You should cover it well to prevent it from drying out.
To adjust the sweetness of the Pineapple Cloud Cake, you can modify the amount of sugar in the cake batter and filling. For a sweeter cake, increase the sugar, and for a less sweet version, reduce it accordingly.

An Easy Recipe To Make Starbucks Pineapple Cloud Cake At Home
Ingredients
For the Pineapple Cloud Cake:
- 1 cup all-purpose flour
- ½ tbsp baking powder
- ¼ tbsp salt
- ½ tbsp unsalted, softened butter
- 1 cupcup granulated sugar
- 1 tbsp vanilla extract
- ½ cup whole milk
For the Pineapple Filling:
- 1 cup crushed pineapple in juice (20 oz)
- ½ cup granulated sugar
- 1 tbsp cornstarch
- 1 tbsp lemon juice
For the Whipped Cream Frosting (optional):
- 1 cup heavy cream
- ¼ cup powdered sugar
- ⅓ cupcup Pineapple Preserves
- ⅓ cup crushed pineapple
Instructions
- Part 1: For The Pineapple Cake:Step 1: Preheat and Prepare: You should preheat your oven to 350°F (175°C) before combining ingredients. And remember to use cooking spray to coat the muffin tray in order to avoid sticking.Step 2: Mix Dry Ingredients: In a prepared mixing bowl, you can whisk together the dry ingredients, including flour, salt, baking soda, and baking powder, and set this mixture aside after that.Step 3: Mix Wet Ingredients: Like Step 2, In another mixing bowl, you also combine the wet ingredients like oil, crushed pineapple, vanilla extract, sugar, and egg. Ensure that you mix until well blended.Step 4: Fill and Bake: Let's fill the muffin tins with the batter with your spoon. Then, you can bake for 20-23 minutes, or until you see the muffins are golden brown. The time baking will depend on your size cake or cake type. You can check by using a toothpick inserted into the center. Your cake will be ready to decorate if the outcome is clean.

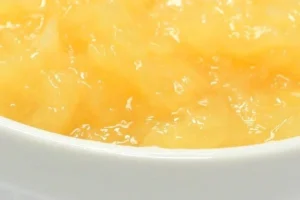
- Part 2: For The Pineapple FillingYou can prepare a pineapple mixture while the pineapple is baked by adding the juiced pineapple, sugar, cornstarch, and lemon juice together. Keep in mind that you must simmer the mixture over medium heat, stirring regularly, until it thickens and turns translucent. After 5-7 minutes, you should let the filling cool completely before using.
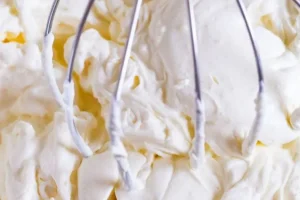
- Part 3: For The Whipped Cream Frosting (optional):To make firm peaks, whisk together heavy cream, powdered sugar, and vanilla extract. However you should be careful not to overwhip, or the cream may become grainy.
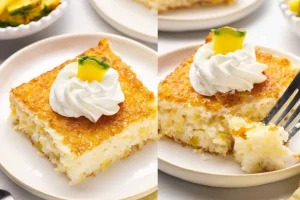
- Part 4: Layer and Decorate: Step 1: Layer the cake: Generously cover one of the cooled cake layers with a layer of pineapple filling after placing it on a serving platter. Repeat the next steps until you have covered the entire cake layer.Step 2: Decorate: depending on your desire, you can garnish pinapple cloud cake with fresh pineapple slices or a sprinkle of shredded coconut.
Nutrition Facts
Final Thoughts
By my shared recipe, baking Starbucks Pineapple Cloud Cake at home is easier than you might think. You can do it by yourself at home and then sharing for your home and friends to enjoy the tropical flavor of it. Don’t forget to save my Starbucks Pineapple Cloud Cake recipe! So, next time, you want to enjoy a cake that is very Starbucks, and tropical but not too sweet, you can make it at home. Good luck!



My mom went wild when she saw I’d made this cake—it turned out absolutely beautiful! But the topping came out more like dough than crumbles. Maybe mixing it by hand wasn’t the best idea? Anyway, I just broke it into little pieces and put them on the cake, and the top ended up nice and chewy-crispy.
This turned out great! I stored it in the fridge, and it’s good cold too. Based on other suggestions, I cooked it for only 40 minutes, and it was just right. I also used a bit less sugar in the cake and added a dash of salt. Here’s a good tip: double the topping and store half in an airtight container in the fridge for another cake or pie. It lasts a long time.
So far, it’s good. Based on reviews, I checked the cake at 40 minutes, turned off the oven, and let it sit for 10 more minutes. I let it rest before cutting. I’ve been searching for a pineapple soufflé recipe I had in college, and this one comes close, but it still turned out dry, even after taking it out 10 minutes early. The kids ate it, so all is good.
I made this for the first time today, and my whole family loved it! I used frozen pineapple that I had cut up and stored in the freezer instead of canned. It worked out great.
This recipe for the pineapple cloud cake is excellent! Very easy to make with my food processor. I’ll be making this throughout the strawberry season. Thanks for the great recipe!!!
Delicious! Just the right amount of sugar. Cut recipe in half for my husband and me. Guess what I am having for breakfast in the morning? Can you imagine with a cup of coffee on Sunday morn?
5 stars–Delicious, your tips and step by step recipe is so very helpful. Thank you for sharing this lovely recipe
Simple, classic pineapple cloud cake. Nothing fancy, but so delicious.
This recipe made the best cake!
I’ve tried a lot of recipes I’ve never had these results. They’re light and buttery and everything I wanted them to be!